4-Step Gold Art Deco Cabinet DIY For Only $5
Hi Queens!
Welcome back to my Thick N Fit Kitchen™ Remodel series where I take you behind the scenes, project by project, of how I created my dream kitchen.

When I first started this series I was publishing these posts under my Unapologetically Thick N Fit blog. But since I just recently launched the Broke & Bougie blog for all of my home, beauty, fashion and DIY projects, I have decided that, going forward, all of the Thick N Fit Kitchen™ Remodel posts will live here. But if you are new to Yes Queen or this series in general, please feel free to check out the prior posts below to get caught up:
This week, I wanted to show you how I redesigned my kitchen cabinets so you can do it too!

One of my least favorite things on the planet is spending a lot on nice things. But I also LOVE nice things! And surprisingly enough, I still manage to get nice things despite not wanting to pay copious amounts of money for them. This is due to my Broke & Bougie mindset, which is just because I have limited funds does not mean I need to limit my vision or creativity.
The best thing about this DIY is that I’m gonna show you all the ways in which I was able to keep my costs low on this project, but still walk away with something fit for a boss queen.
Another great perk about this project is that it is also apartment-friendly since it’s just tape that can be pulled up quite easily. But if it still makes you nervous or in fear of losing your security deposit, definitely feel free to check in with your landlord about it before attempting it.
Tools
*Disclosure notice about affiliate links
Lots of Patience (lol… but actually)
So I know I’ve joked about patience being a crucial tool in the past, but for this one I’m definitely not kidding. I couldn’t believe I actually spent as much time as I did on this project. But I gotta say, the end result made it all worth it. So let’s jump into how I did it!
Time: 2-3+ hours (Depending on the size/height/quantity of cabinets)
So, I always knew I wanted to redo my design on the kitchen cabinets, but for a long time I just wasn't sure what design I wanted to go with.
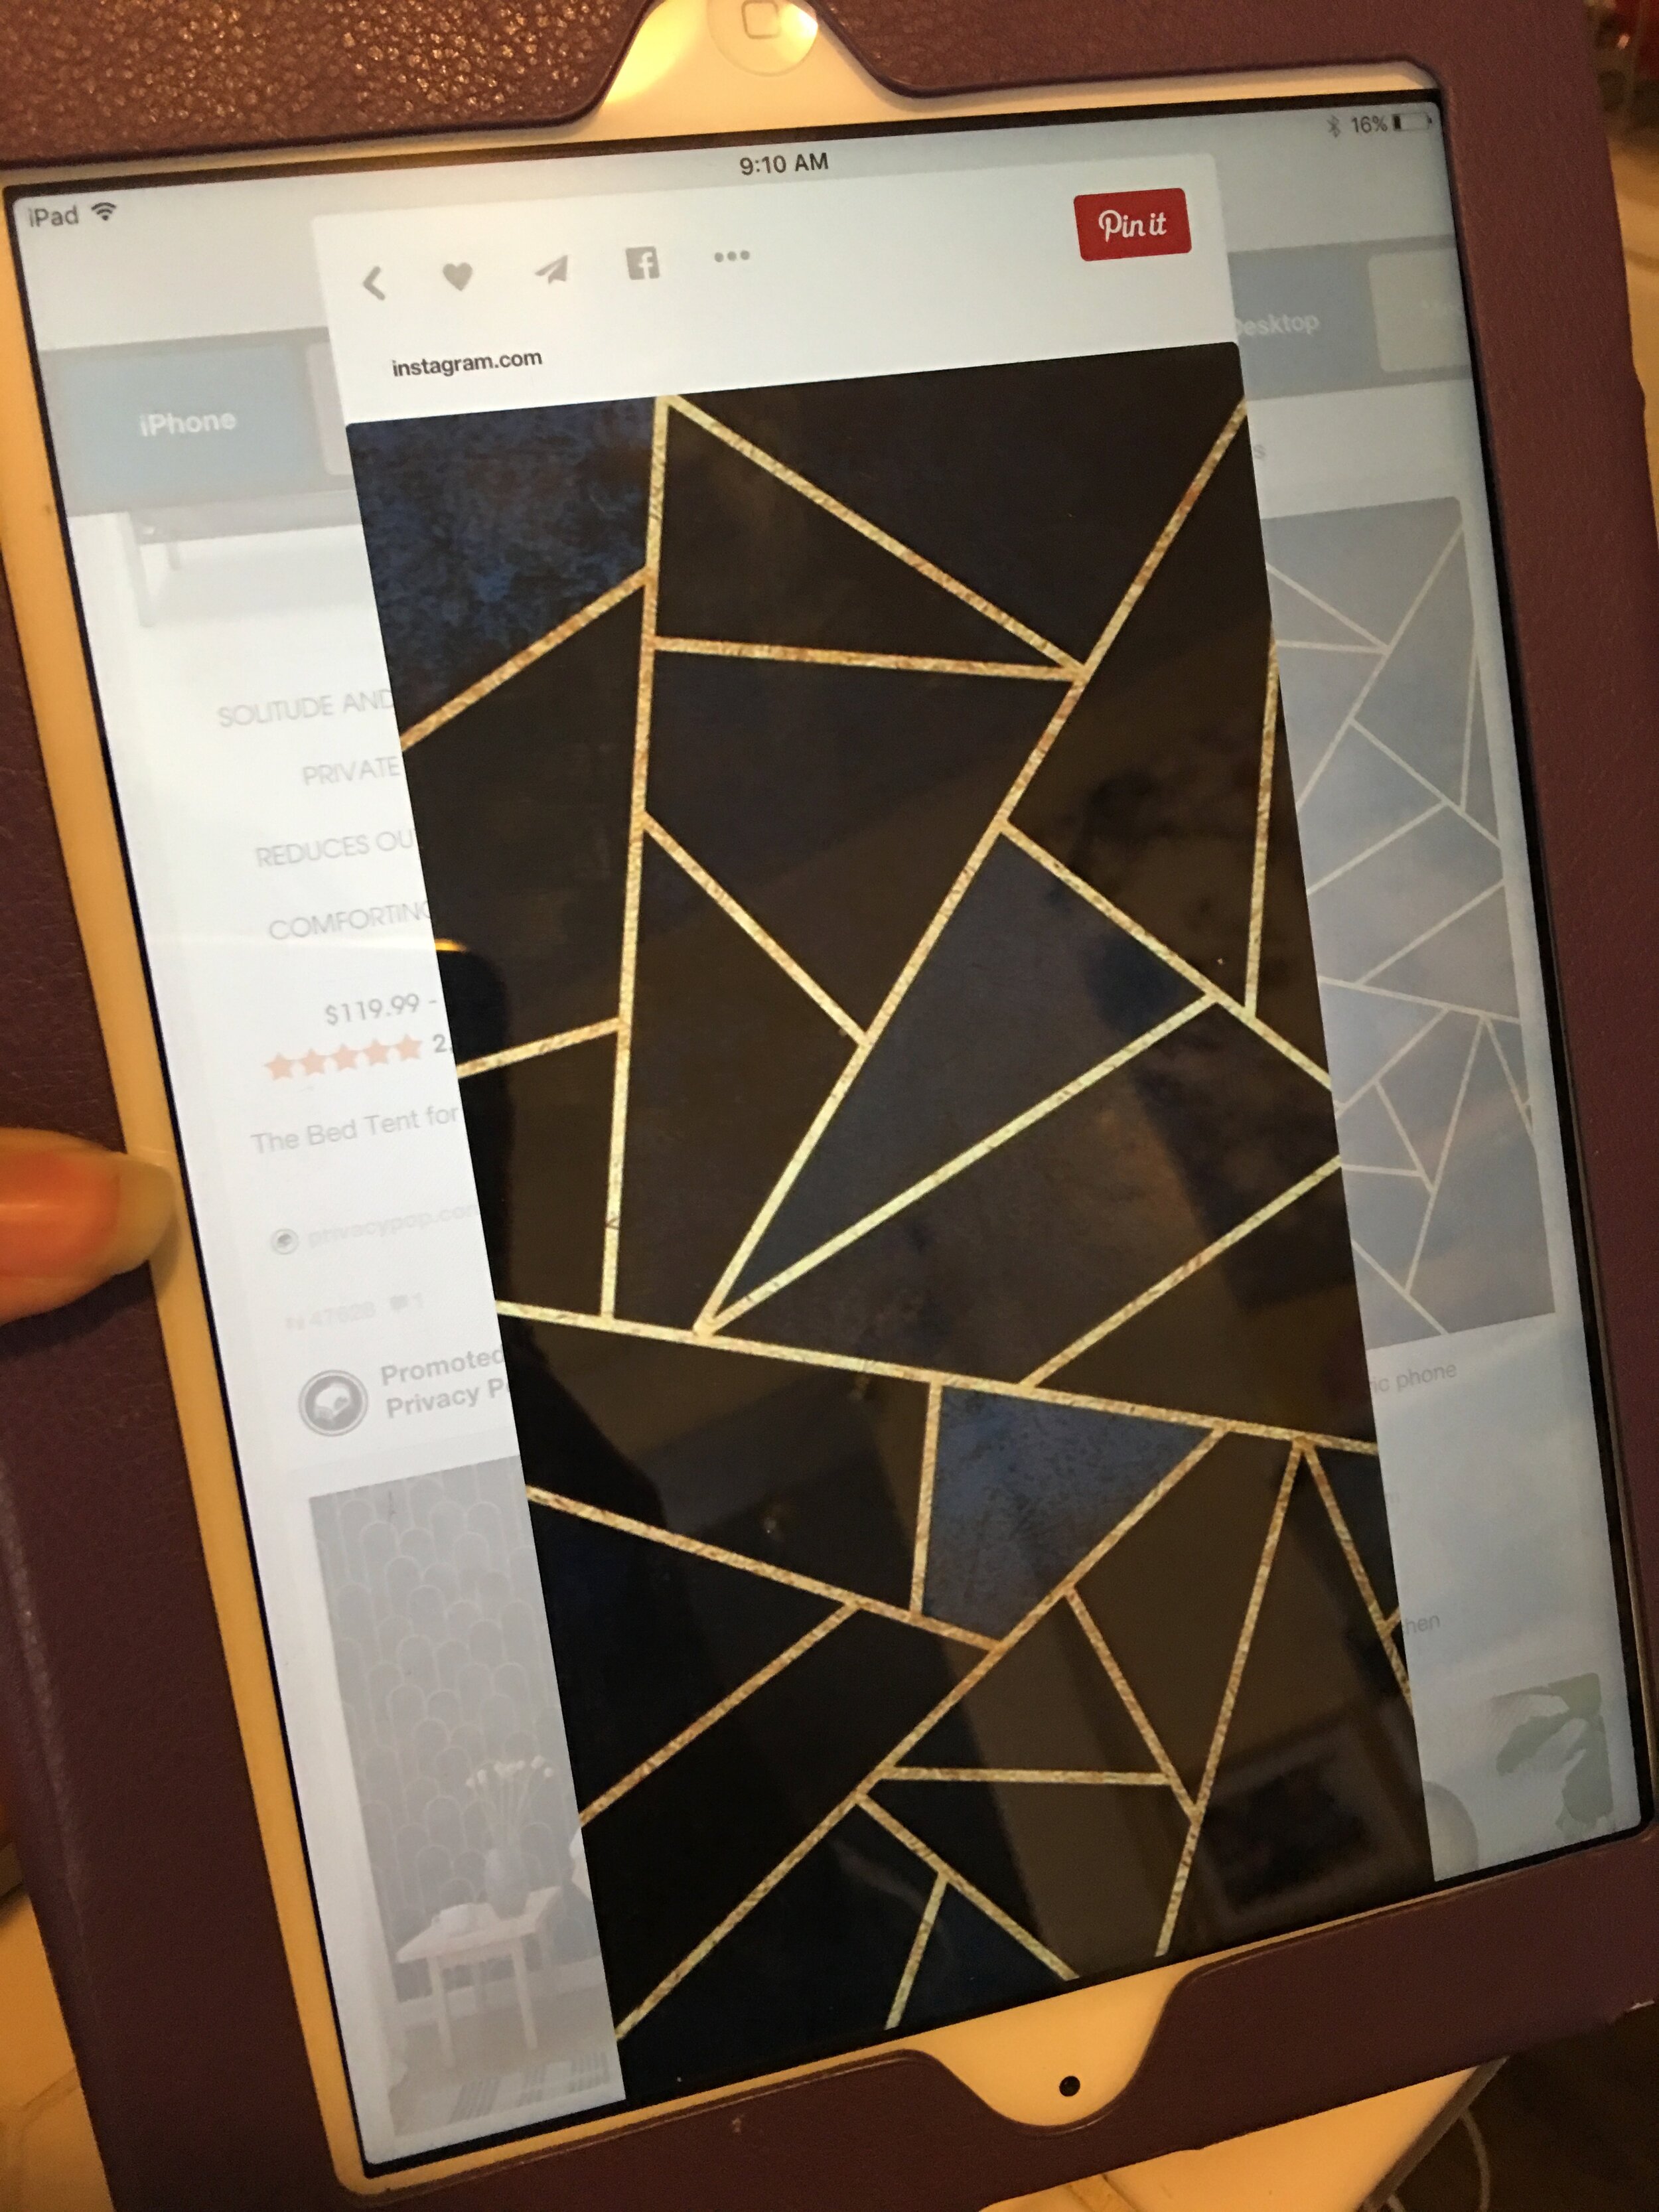
I thought about doing a complimentary black striped design to the fridge. I thought about in-laying marble contact paper. But one night as I was scrolling through Pinterest, I came across this art deco design, and I knew in that moment that I had found what I wanted to do with the cabinets.
Using this design as inspiration, I set out to do my own art deco design using gold tape.
The next part of the process was figuring out what tape I wanted to use, and how much it would cost me. On Amazon I found a variety of gold tapes that you could get at varying sizes of thickness. But I got to be honest and say that I just wasn't in the mood to spend between $8-12 on some tape.
So while I was home in Cambridge for a bit I decided to venture out to a few local art stores to see what deals I could find. Finding myself in a store called Artist & Craftsman Supply in Central Square, I had a pleasant conversation with a salesperson about my project who suggested that I try using Washi tape or Mylar tape.
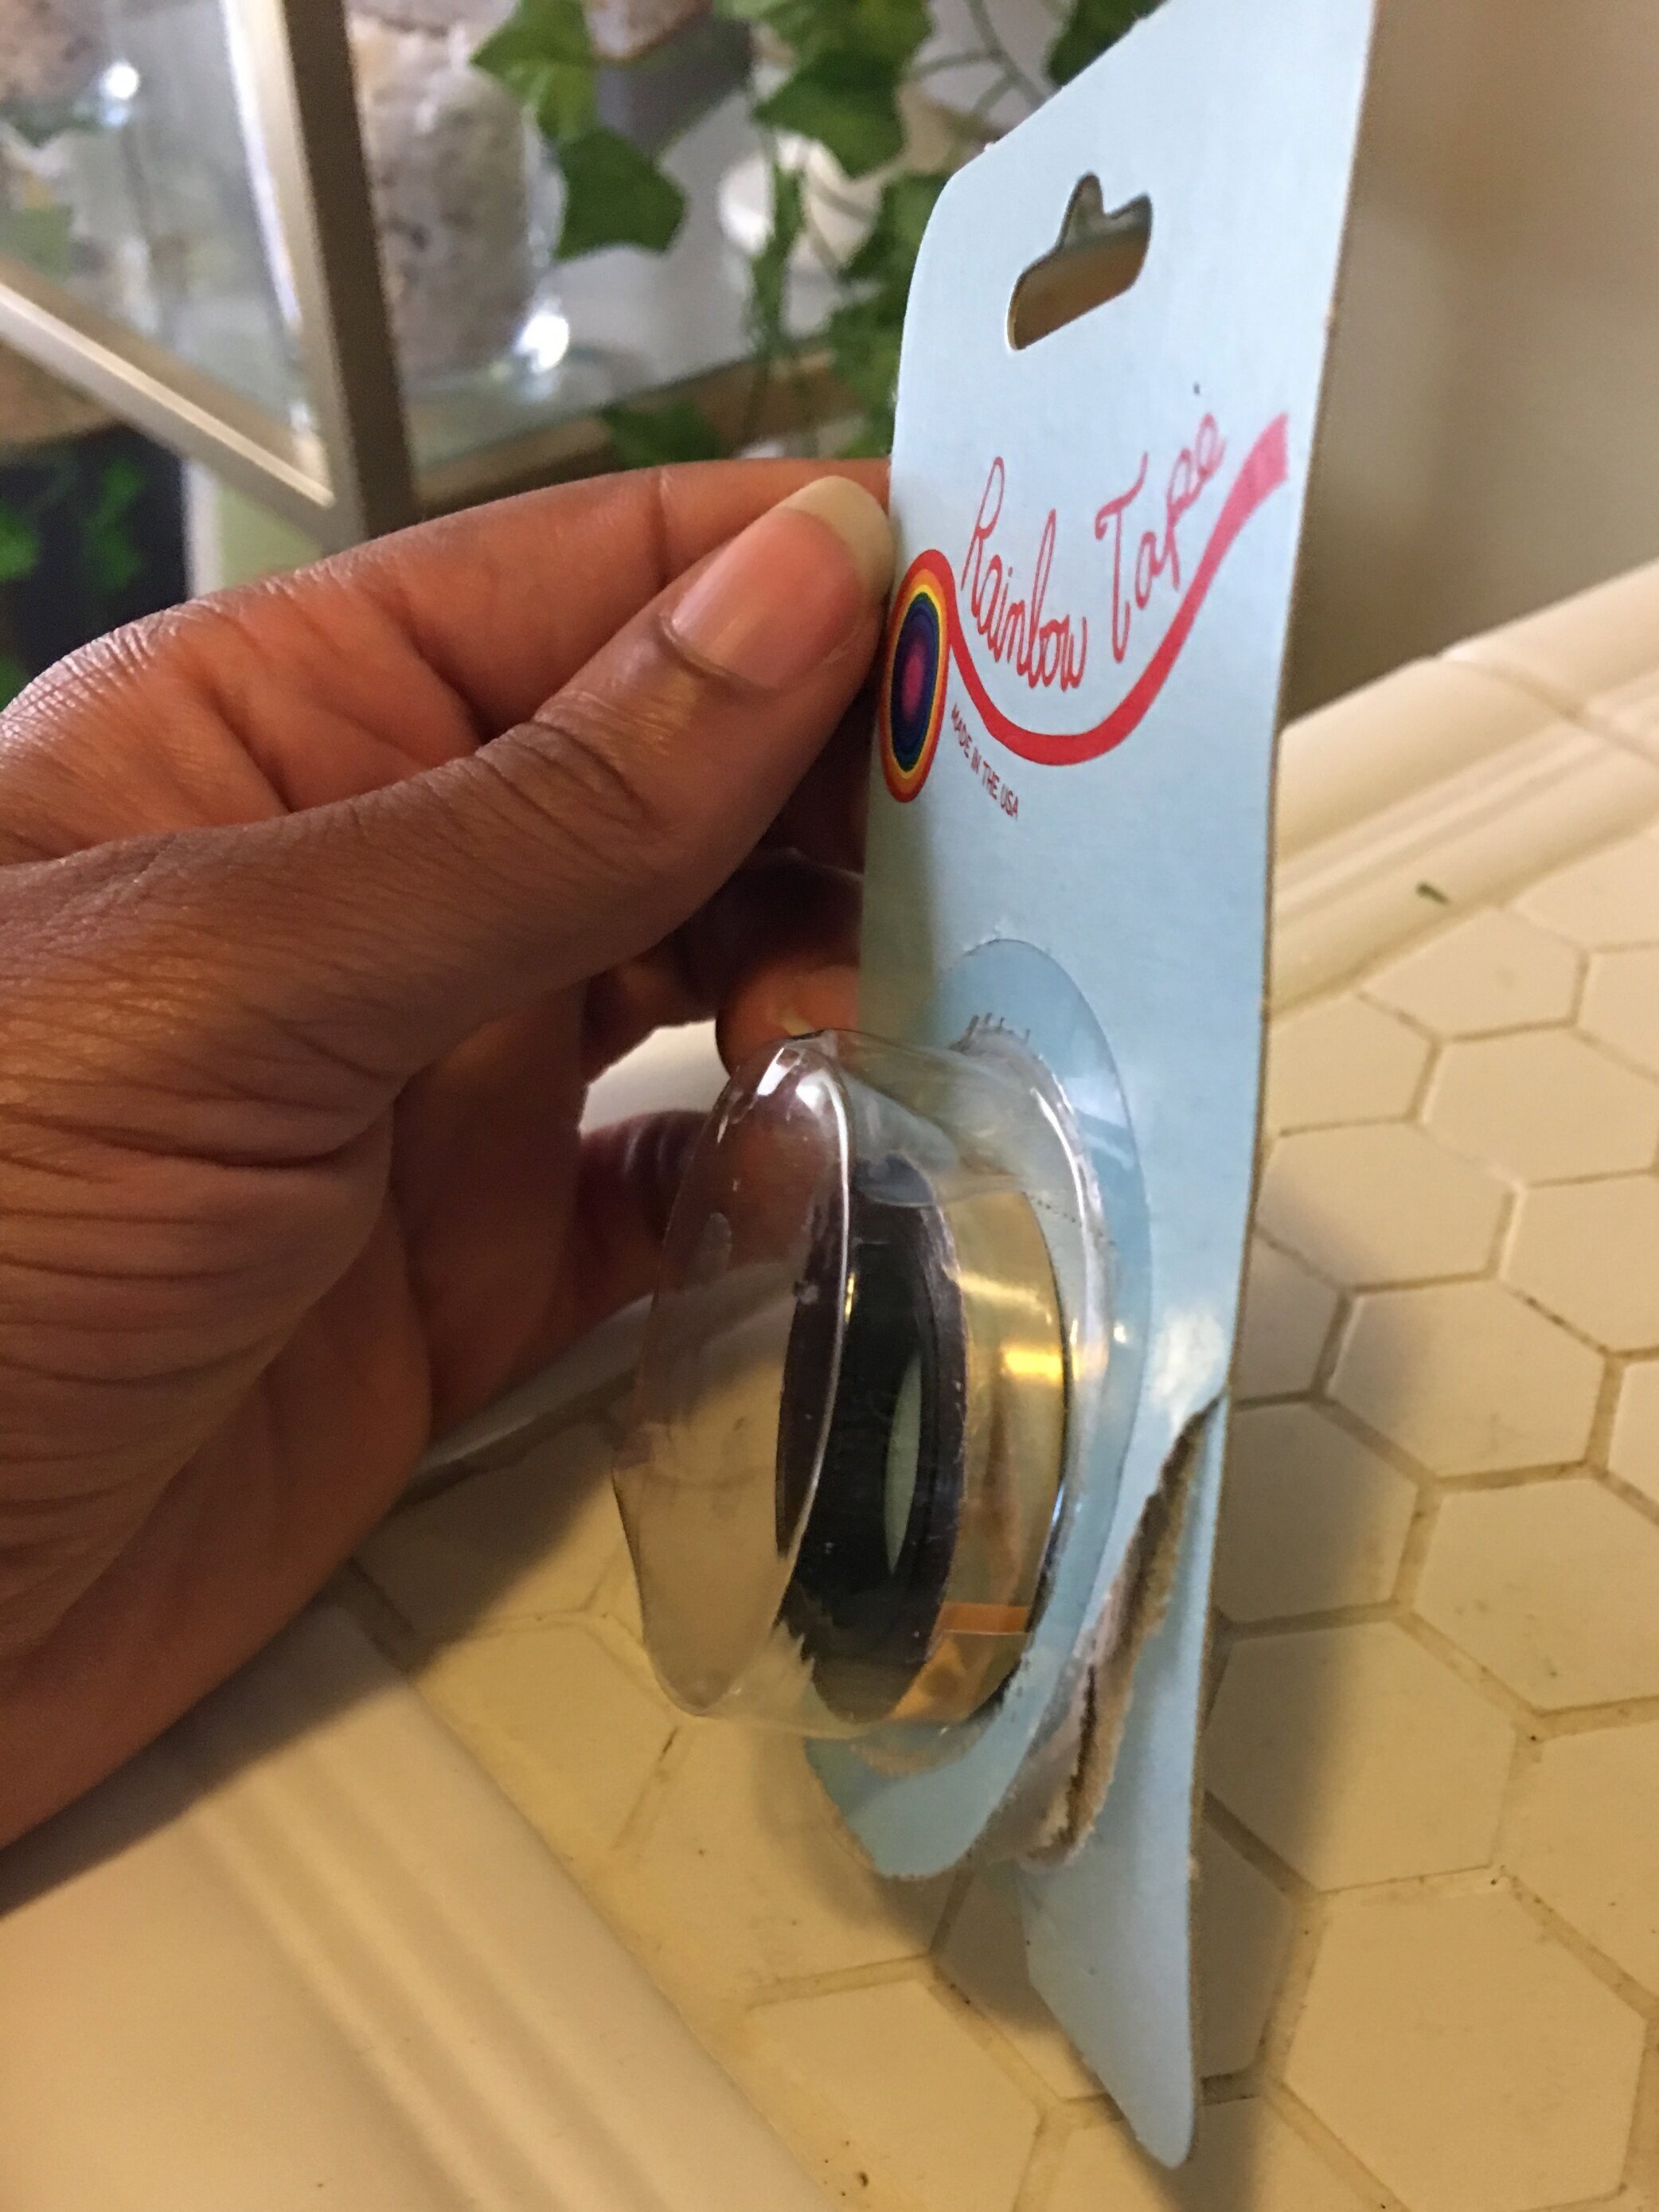
Mylar tape
I was a little nervous about the Mylar tape because it seemed way too thin, but I was in love with the price of $2.17 (with my student discount… Woot, woot!). When he showed me the Washi tape, it definitely looked like the thickness I wanted but of course the one he was holding was the last one, and I was nervous that it wasn't going to be enough. But he assured me that if I didn’t go too crazy with the lines, the one roll should definitely be enough.
So armed with the Washi and Mylar tape at a beautifully combined total of $5.04, I flew back to California prepared to slay it.
The Process
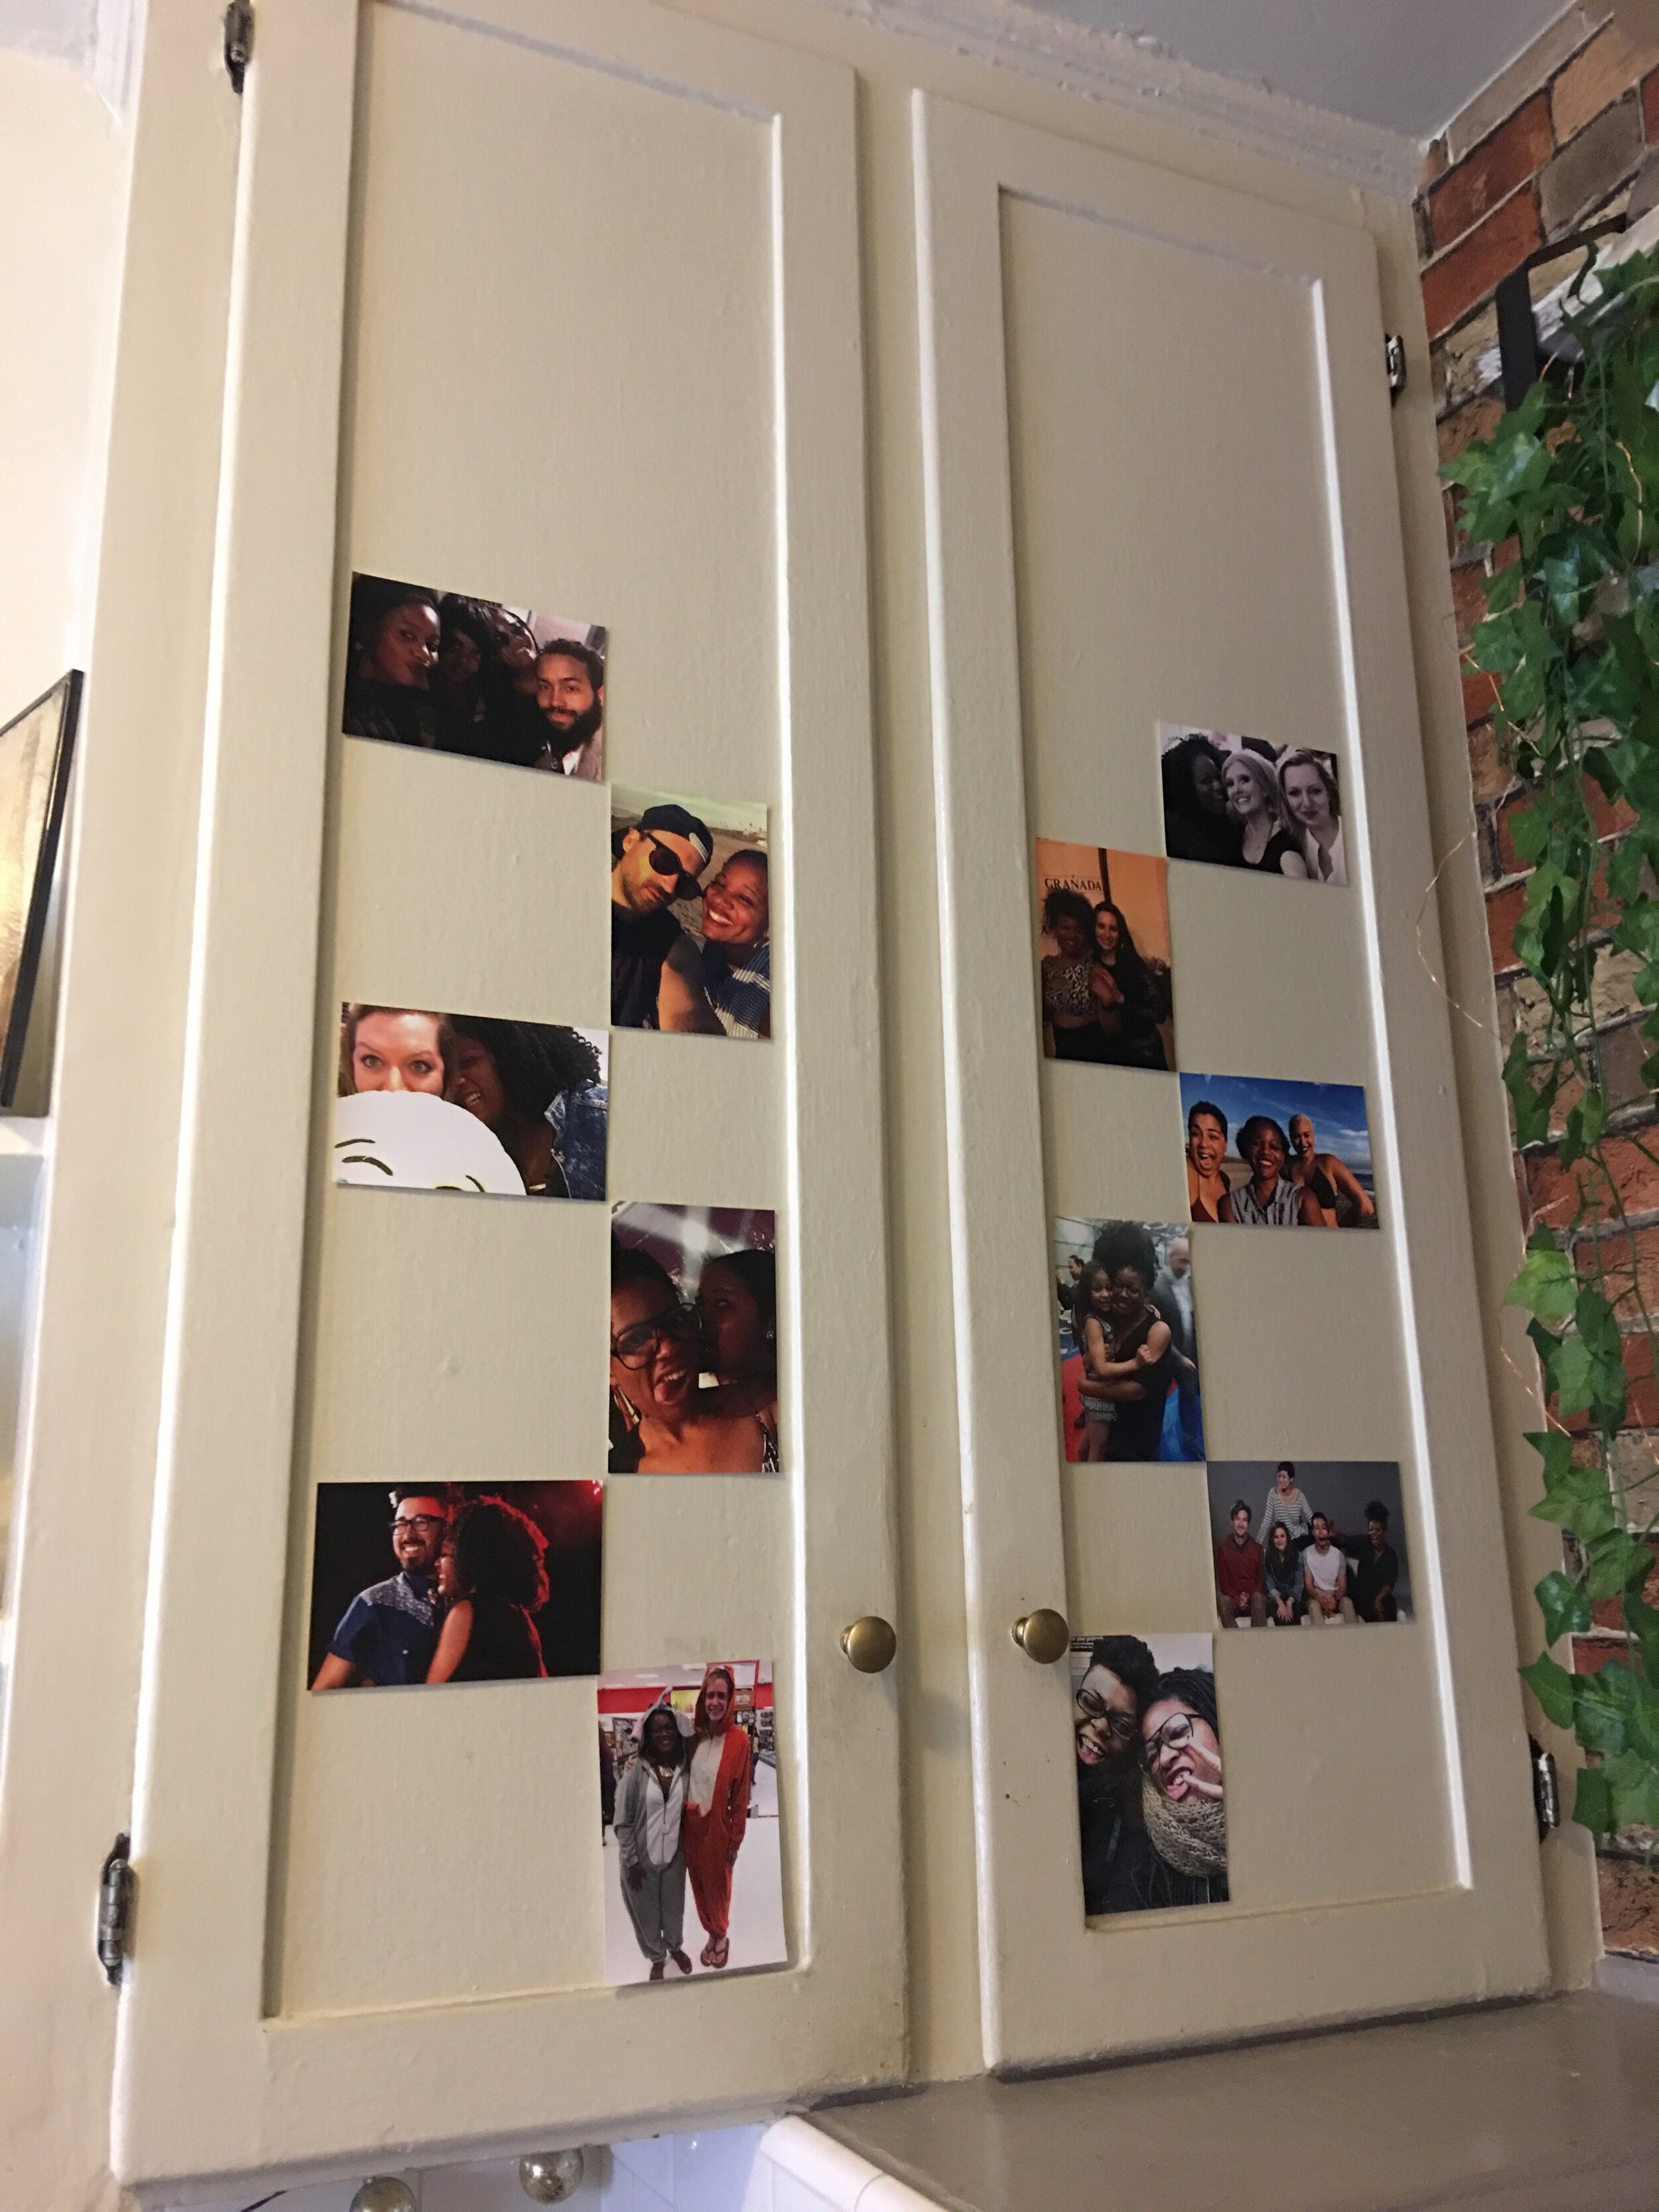
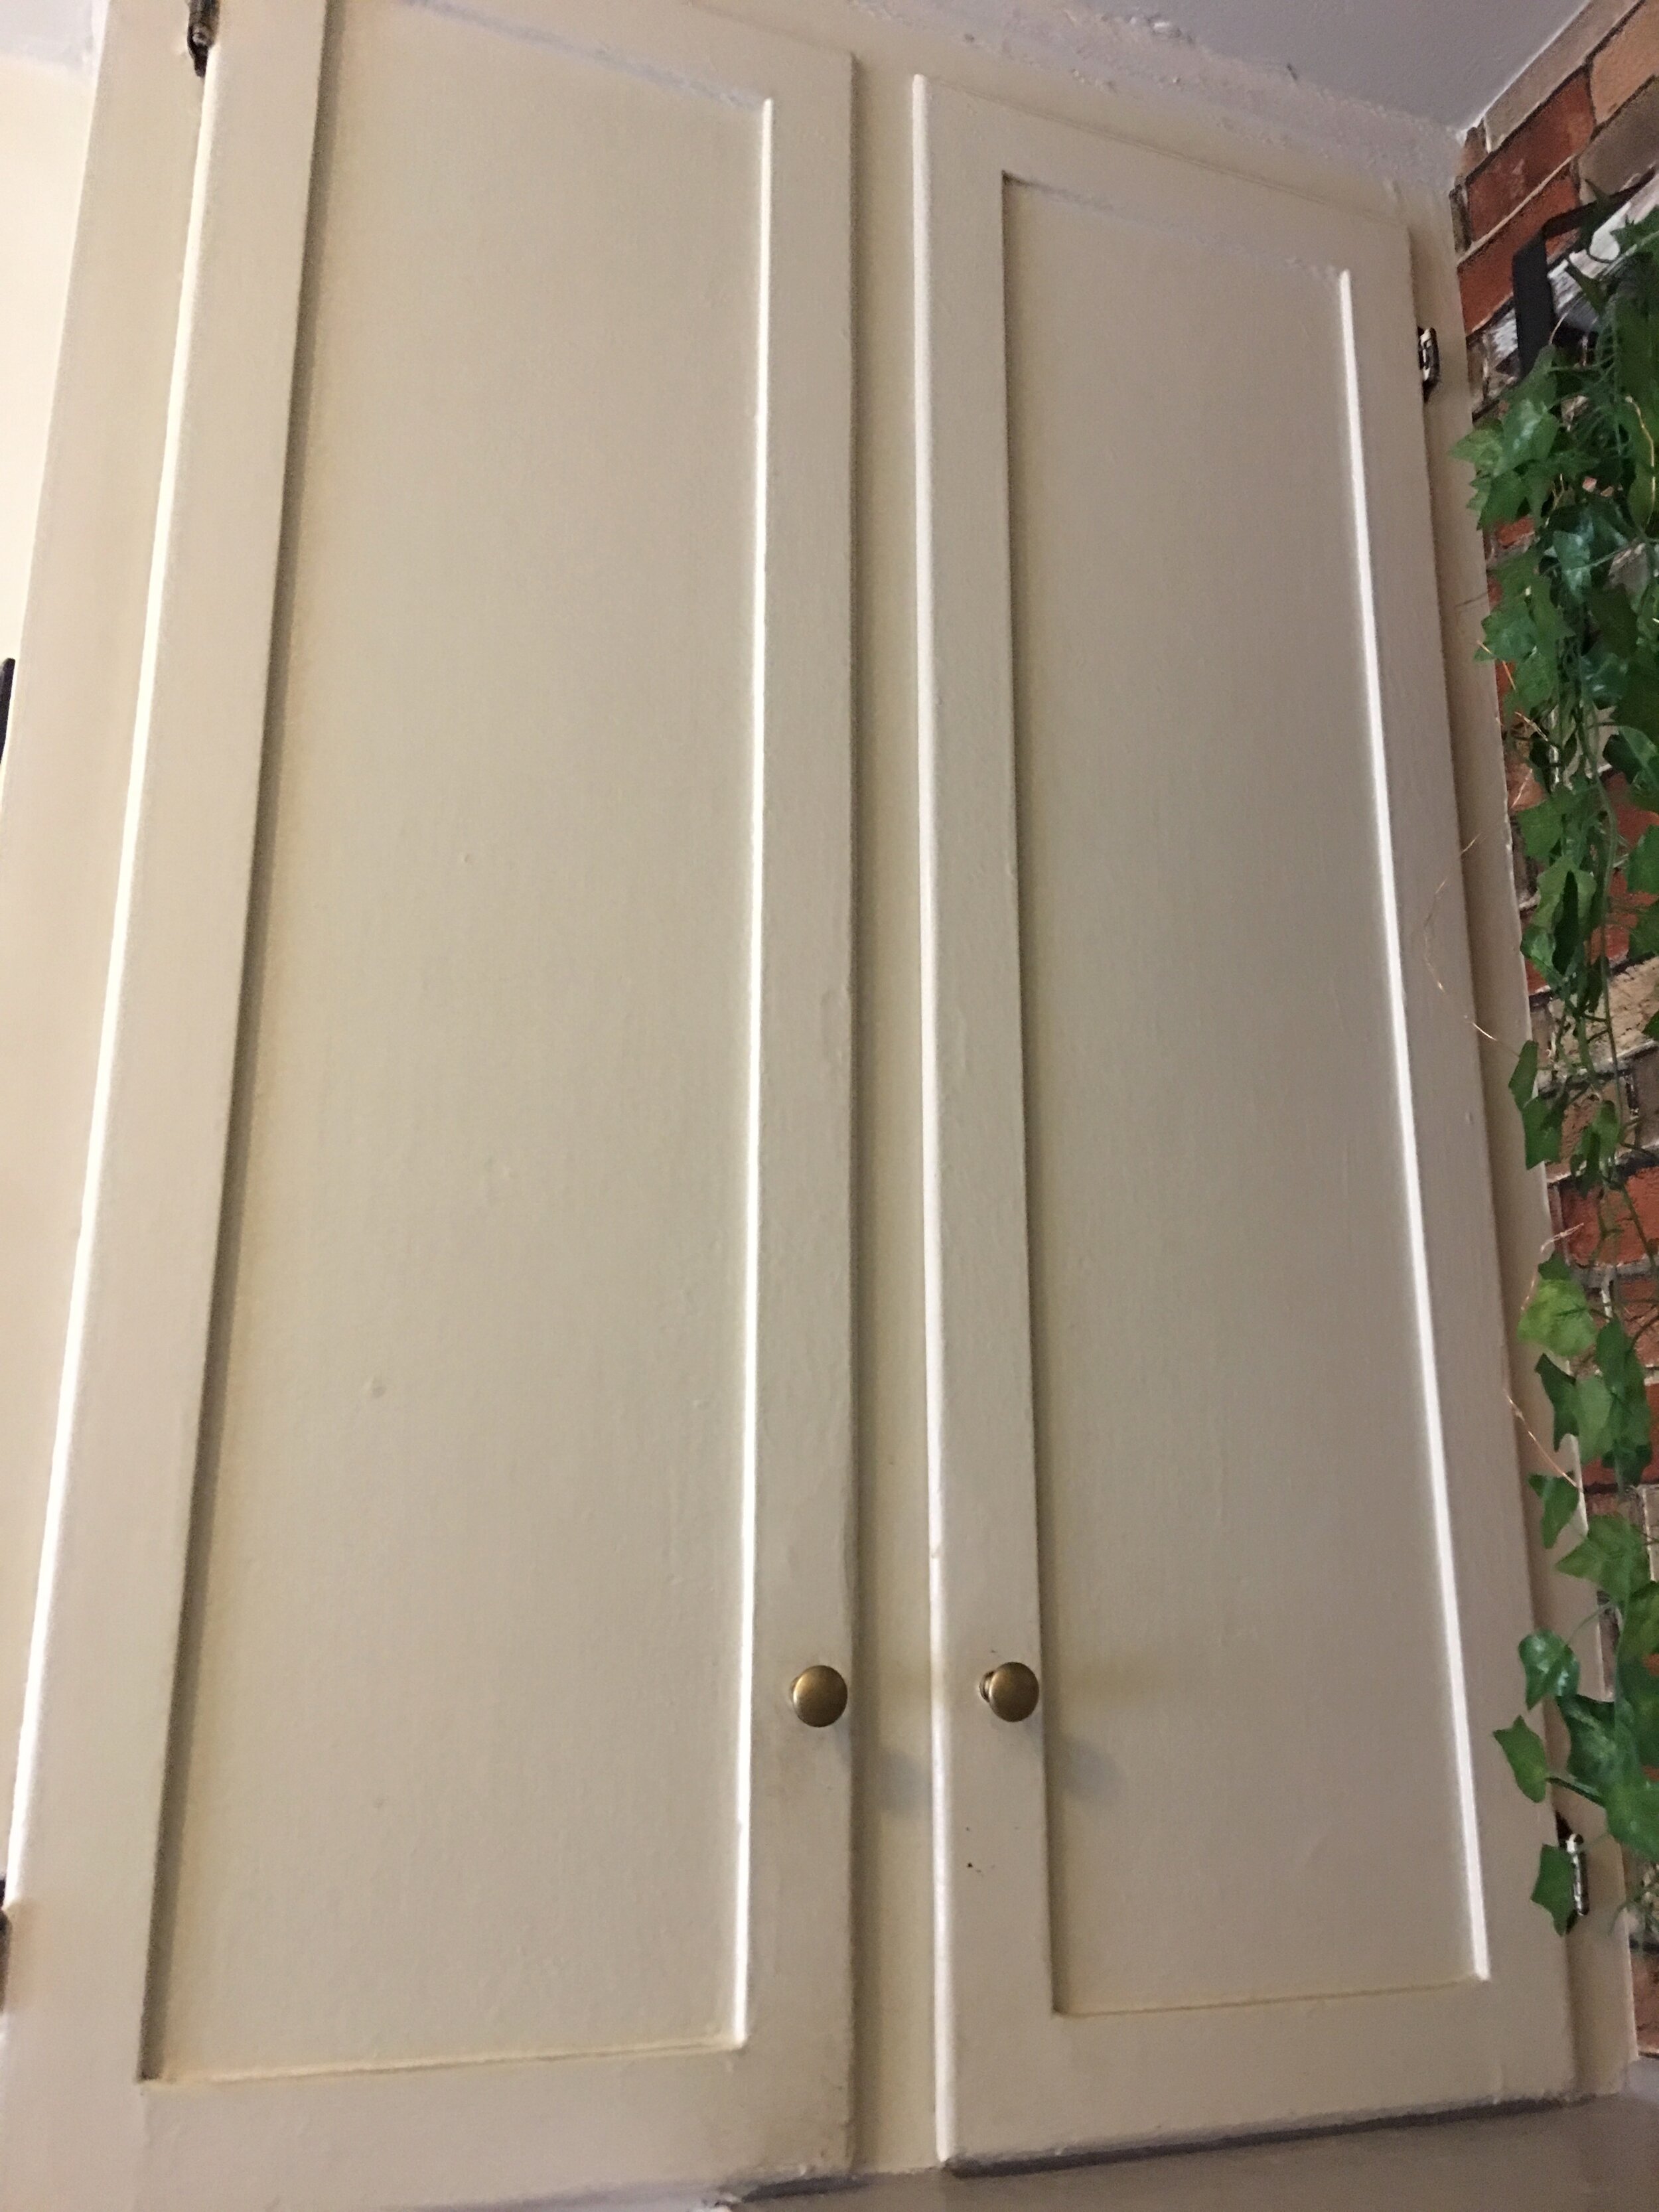
So first I removed the pictures that I had on the cabinets, and wiped it down with a general surface cleaner. I had stickers and taped pictures on the cabinet doors prior so there was definitely a lot of adhesive residue that needed to get cleaned off. It’s also good to do in general because if the doors are too dusty the tape might not stick.
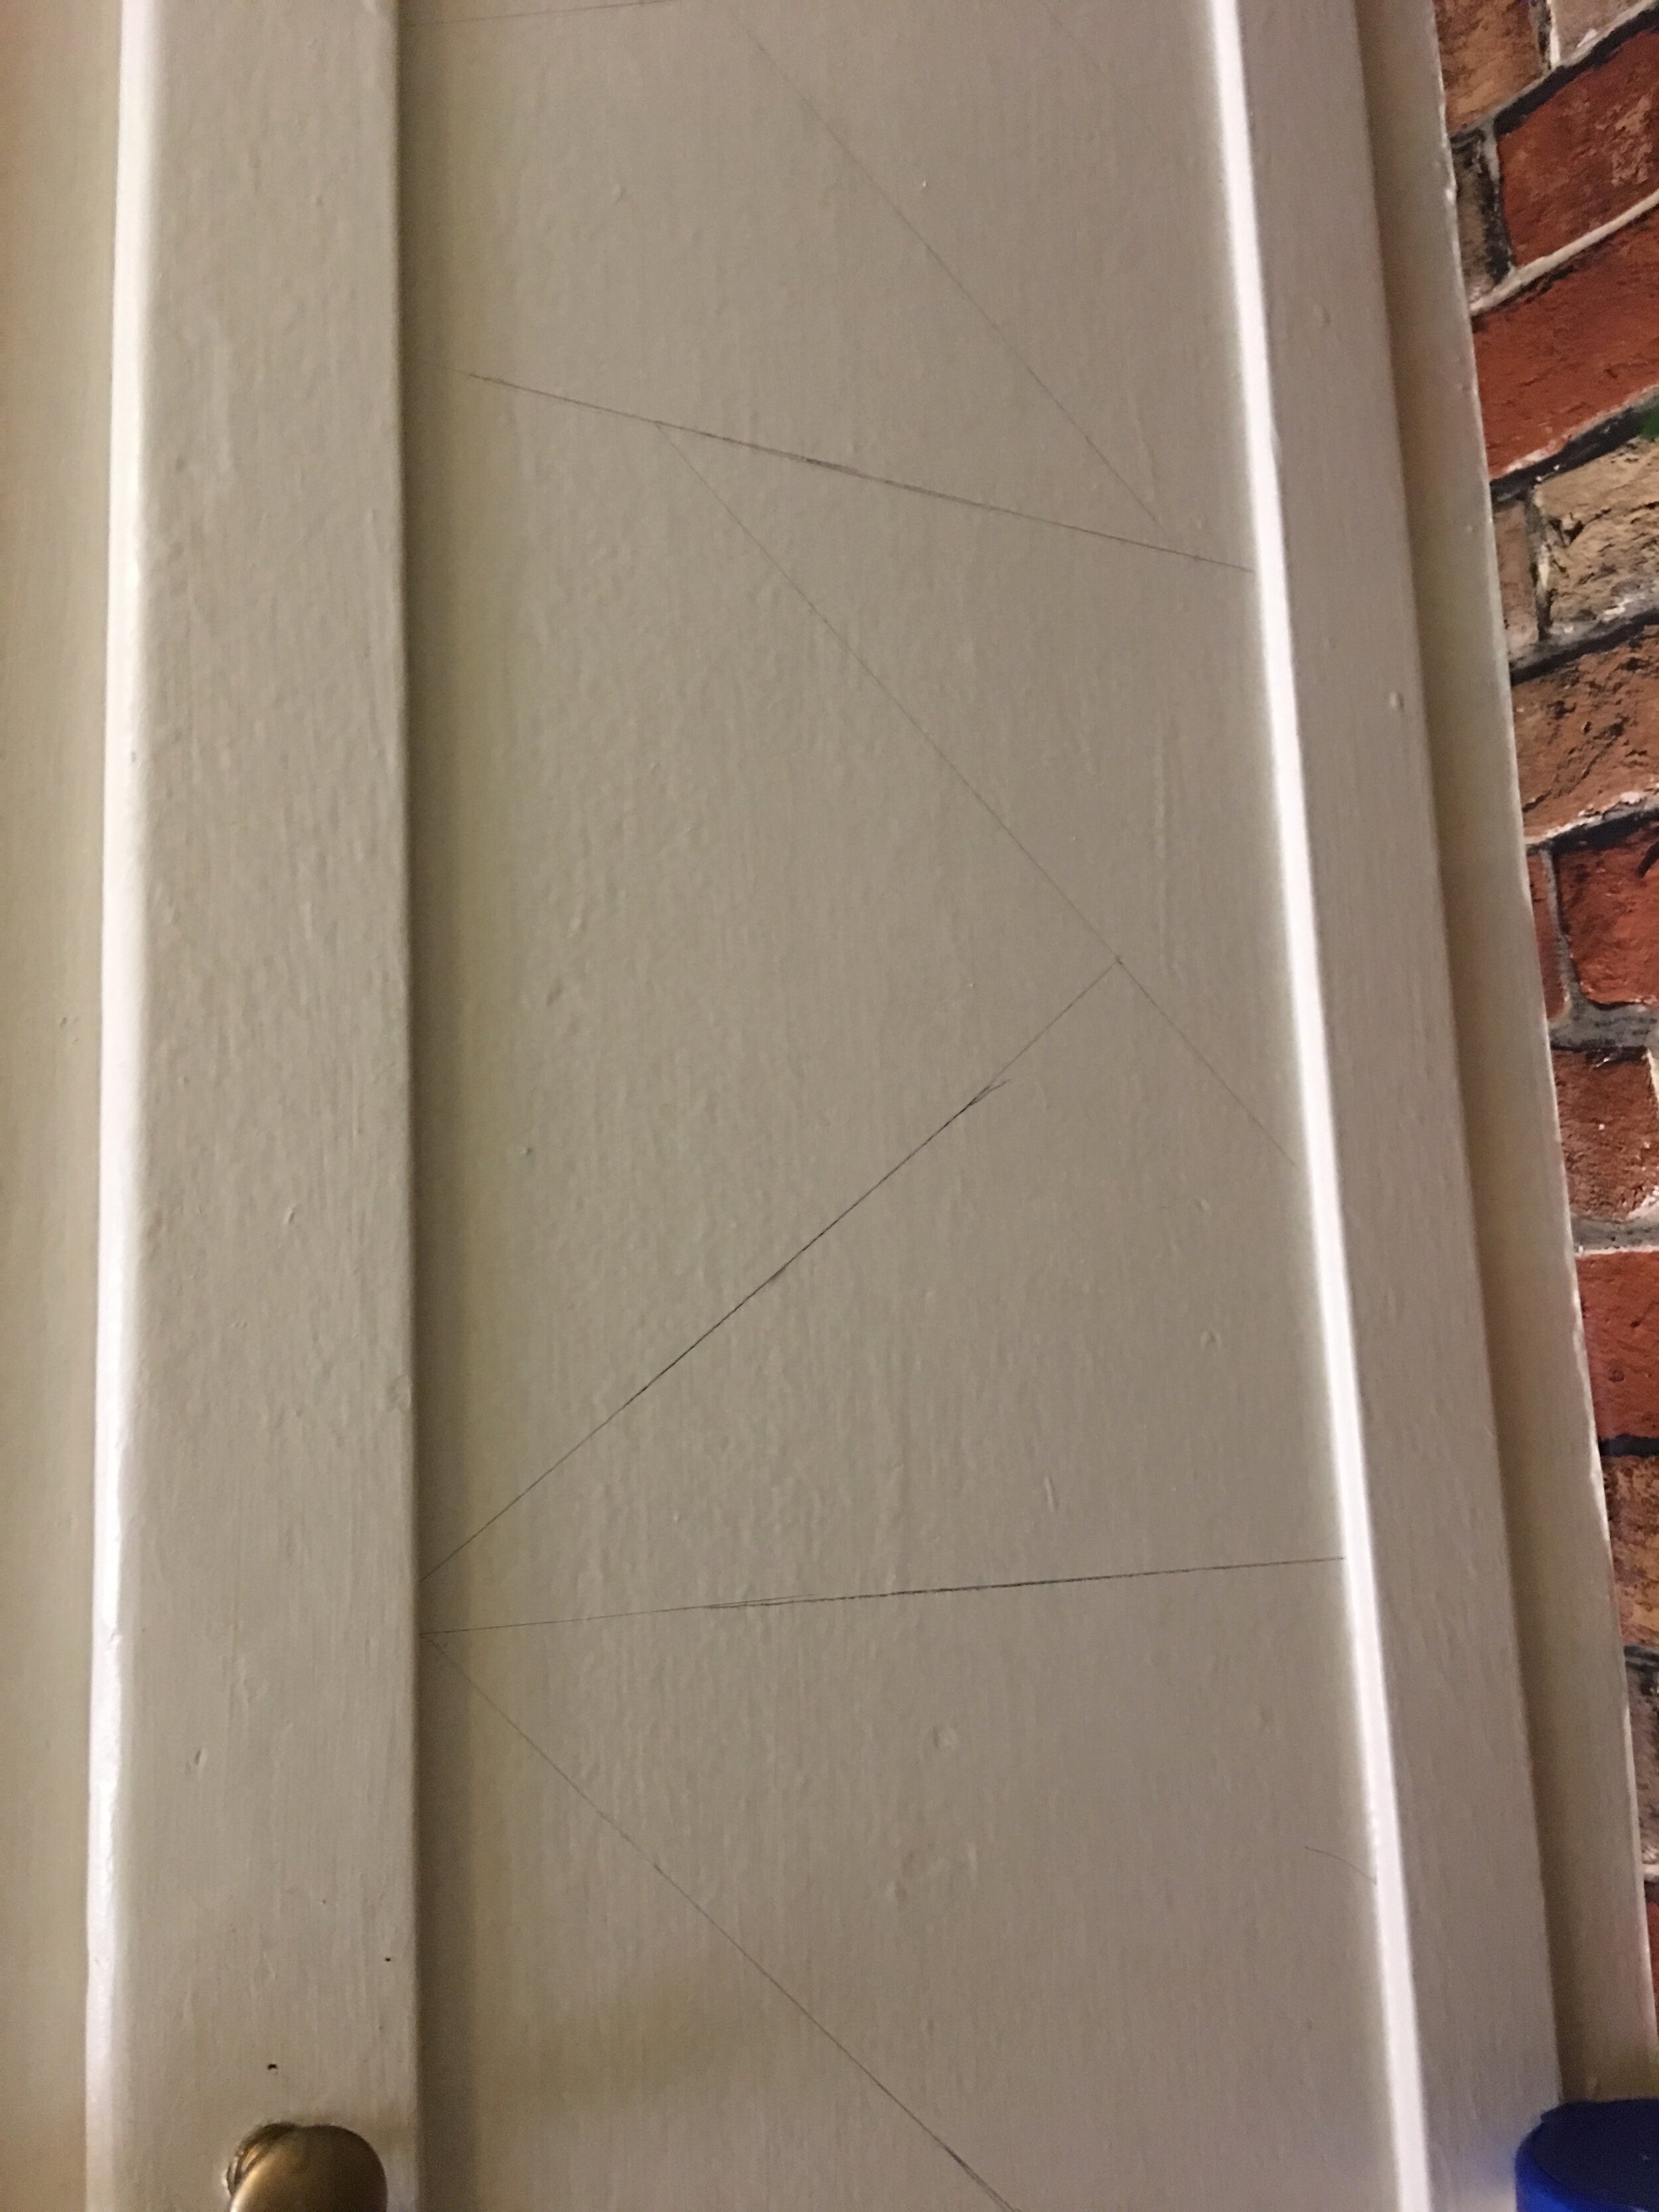
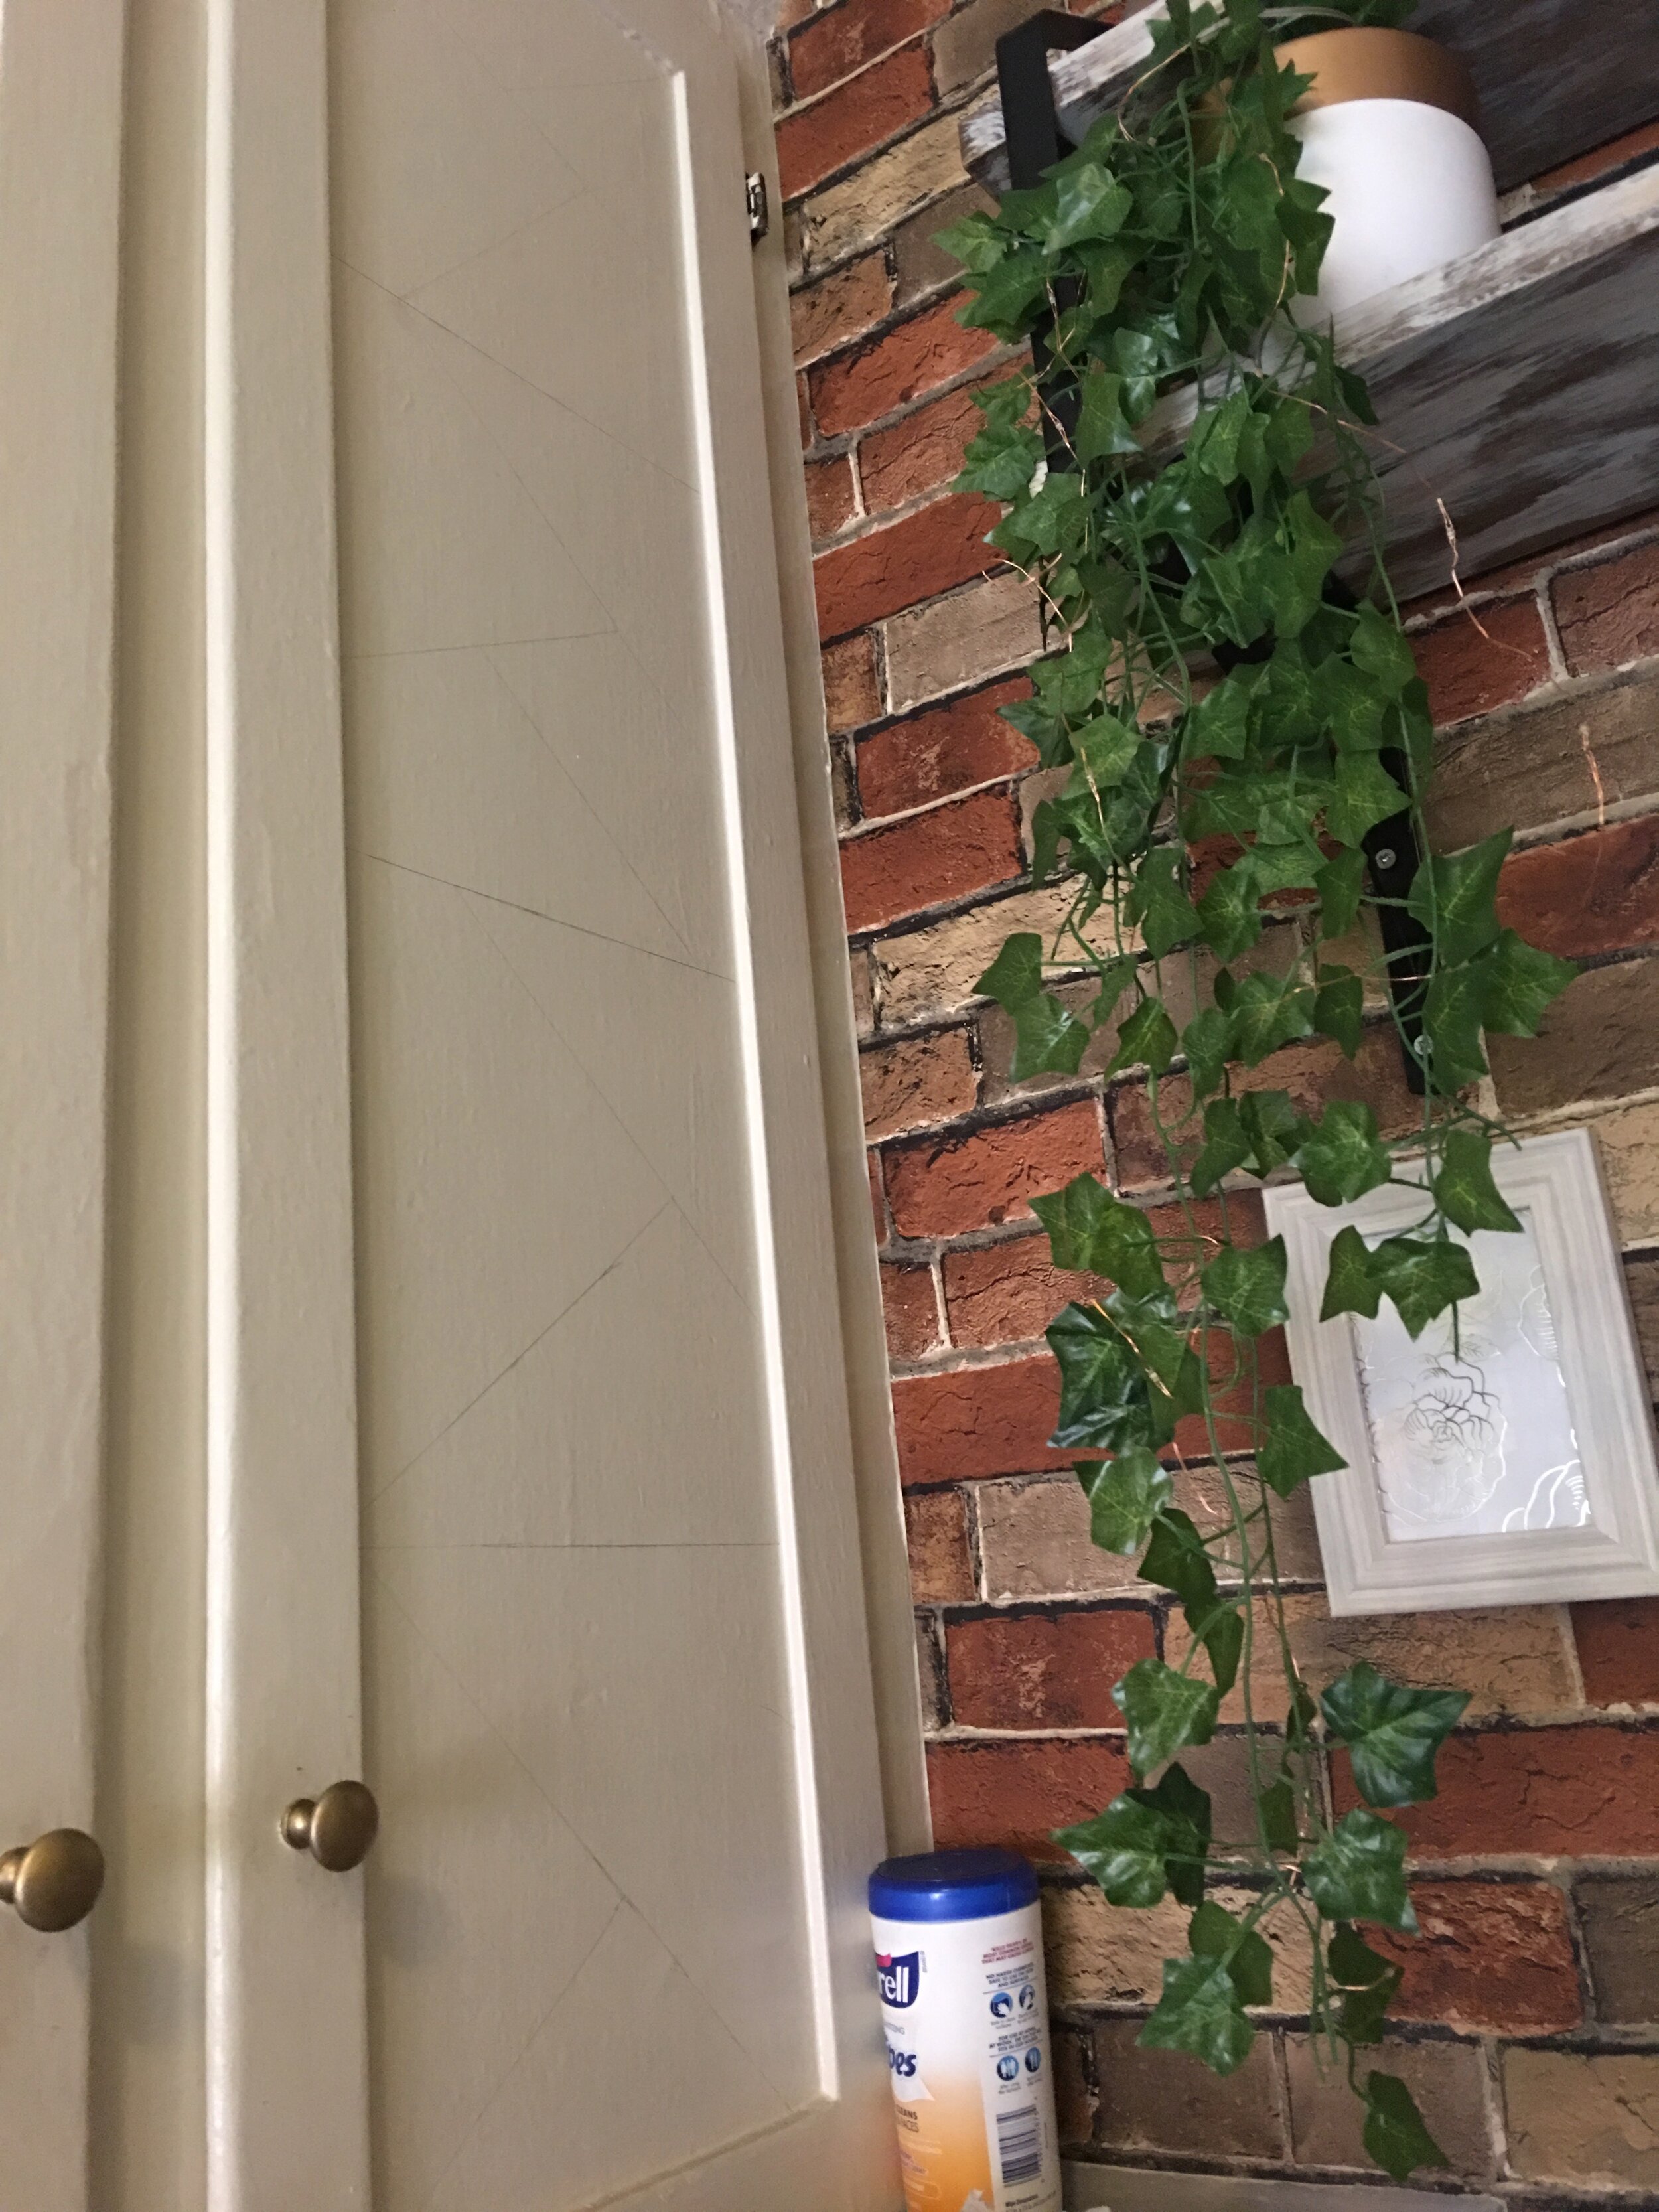
Next, I used a pencil and a straight edge to draw the outline for where I wanted the tape to go. I say straight edge because I couldn’t find my smaller ruler, and only had a large ruler that wouldn’t fit. So I ended up using a picture frame to help assist me draw the lines. As far as coming up with the design pattern I pretty much made it up on the spot using the photo I got from Pinterest for inspiration.
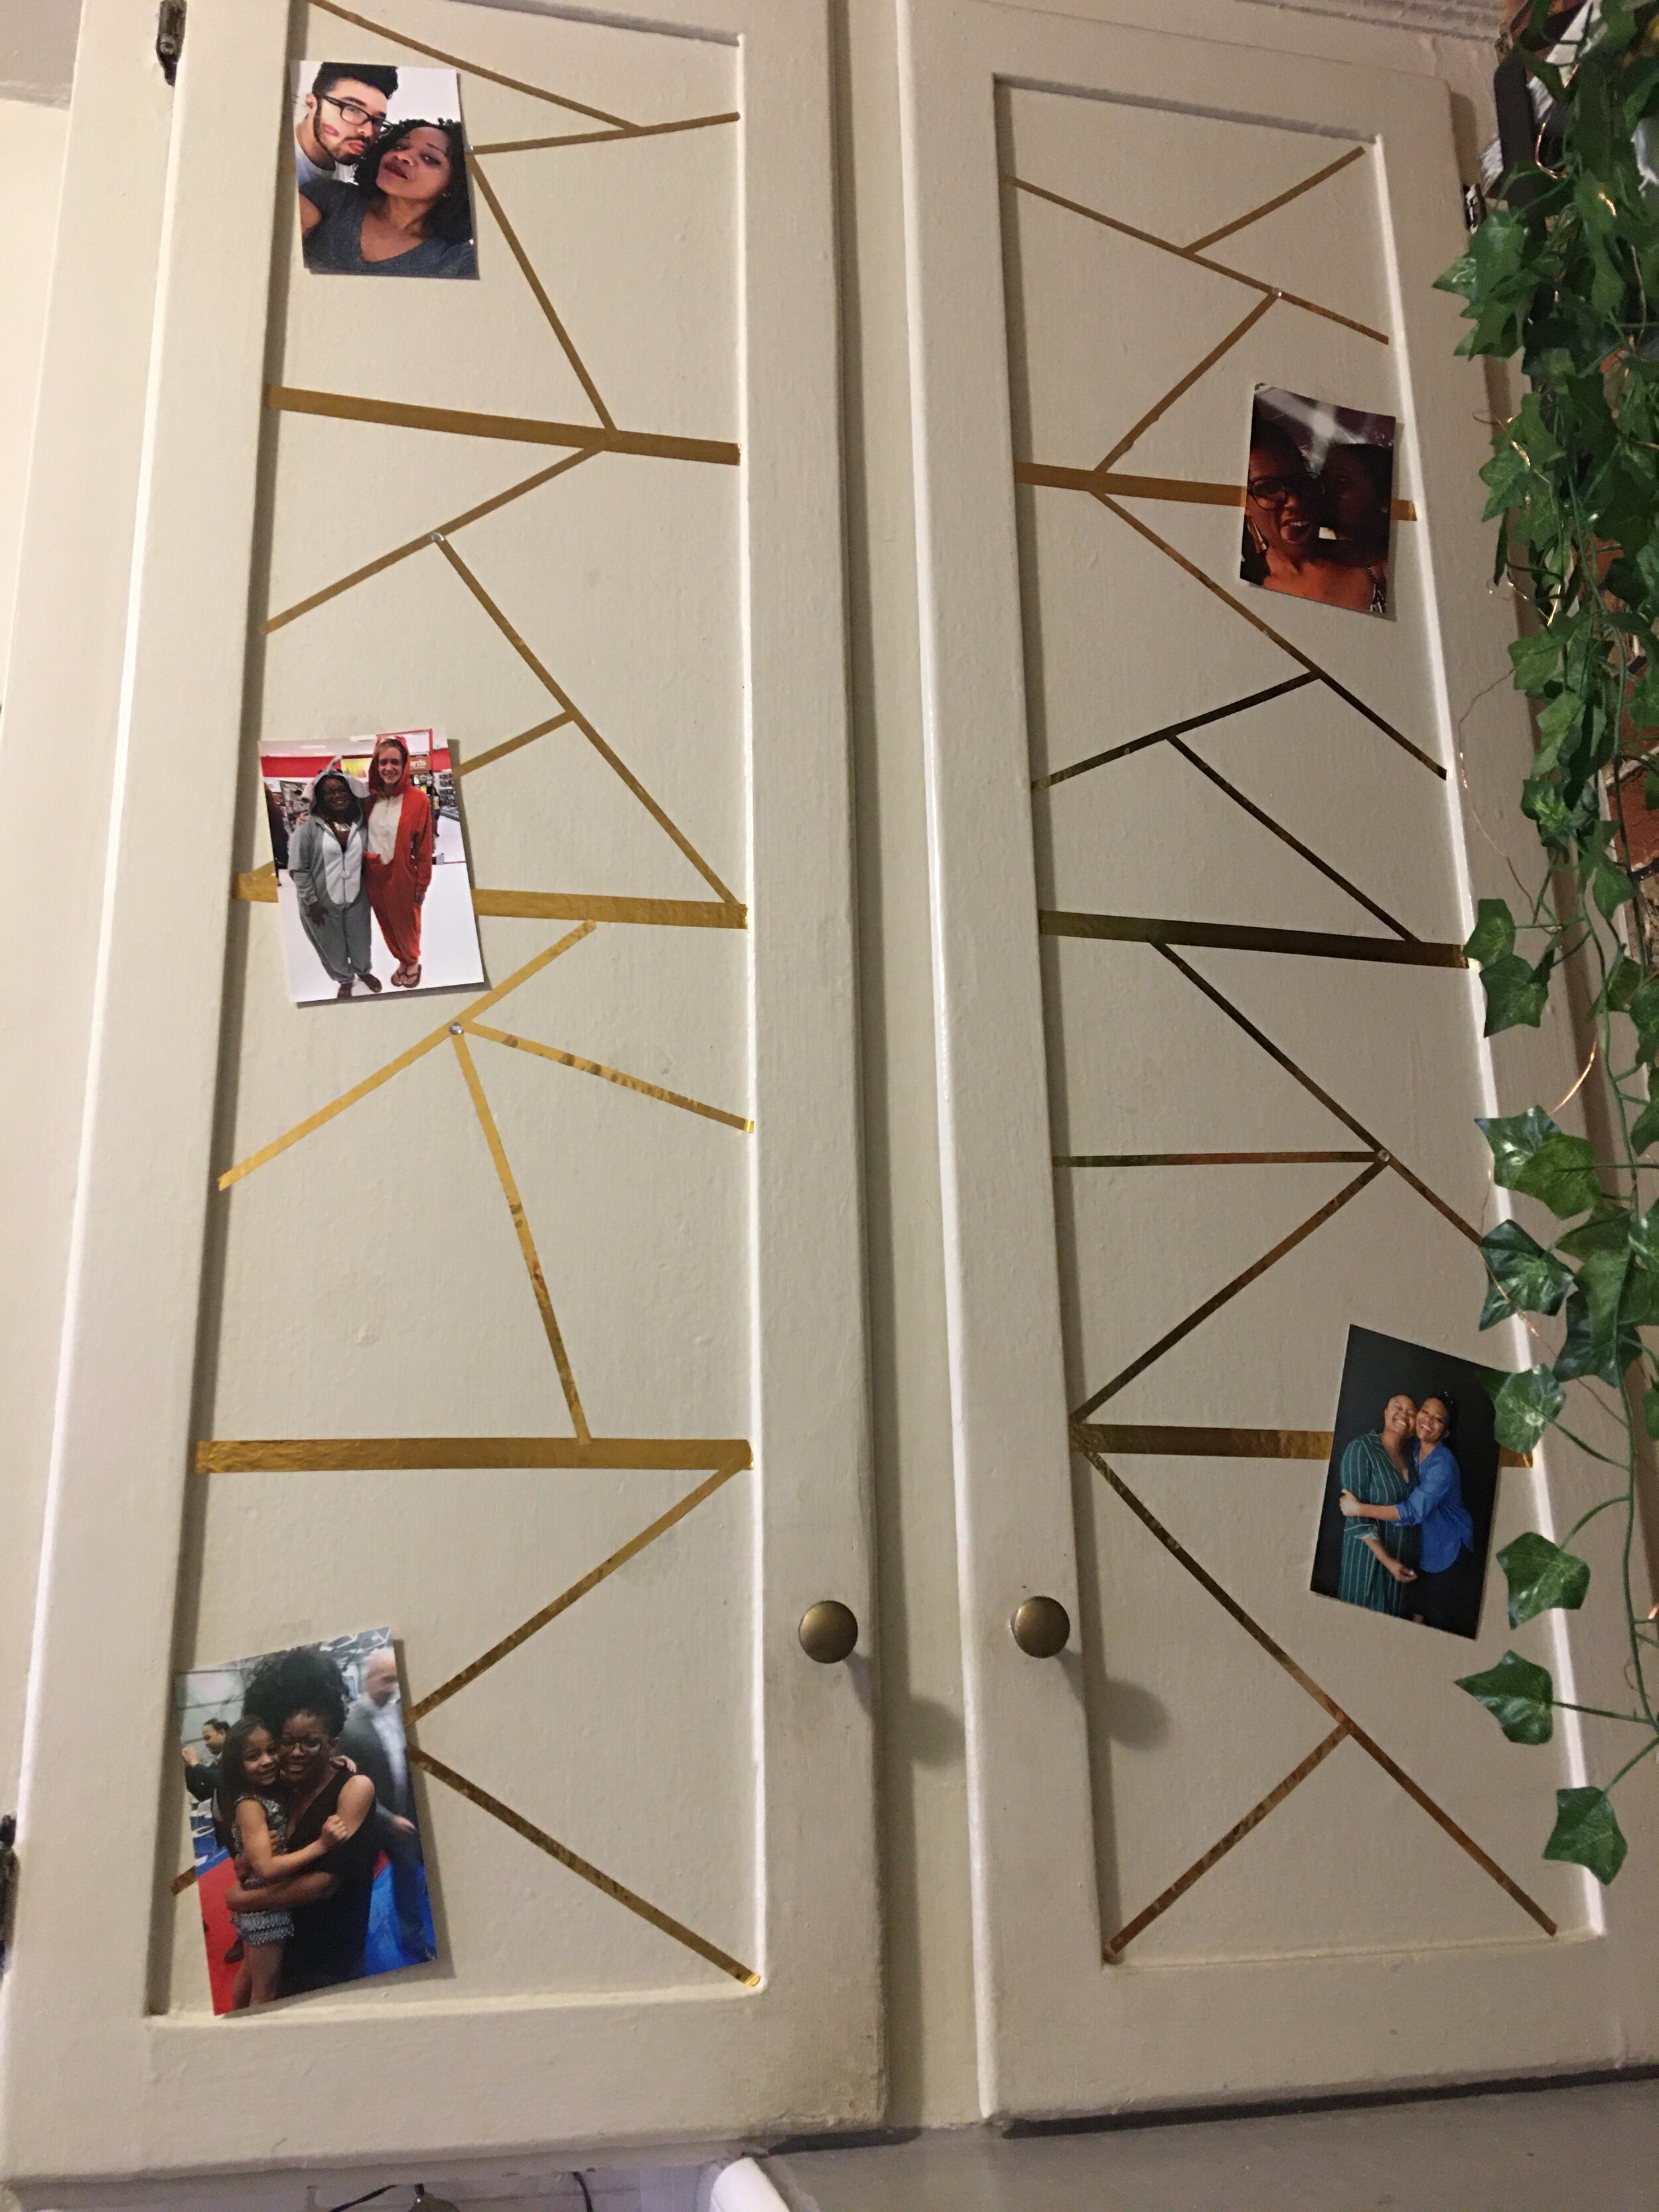
After I put my outline down, I decided to use the Washi tape for the horizontal lines and the Mylar tape for other ones. But in hindsight I believe that you could probably use just the Mylar tape for all of the lines and it would still look really great. I had already laid down the Washi tape and y'all know I hate wasting so I just decided to make do with it.
Click through for more photos.
But if I were to do this over again I believe I would solely use the Mylar tape. I would also recommend laying down the Mylar tape first and then the horizontal strips of Washi tape so that the Washi can hide the tail end of the Mylar tape. I didn't think about that as I did the first door, but was much more conscious of it for the next two doors.
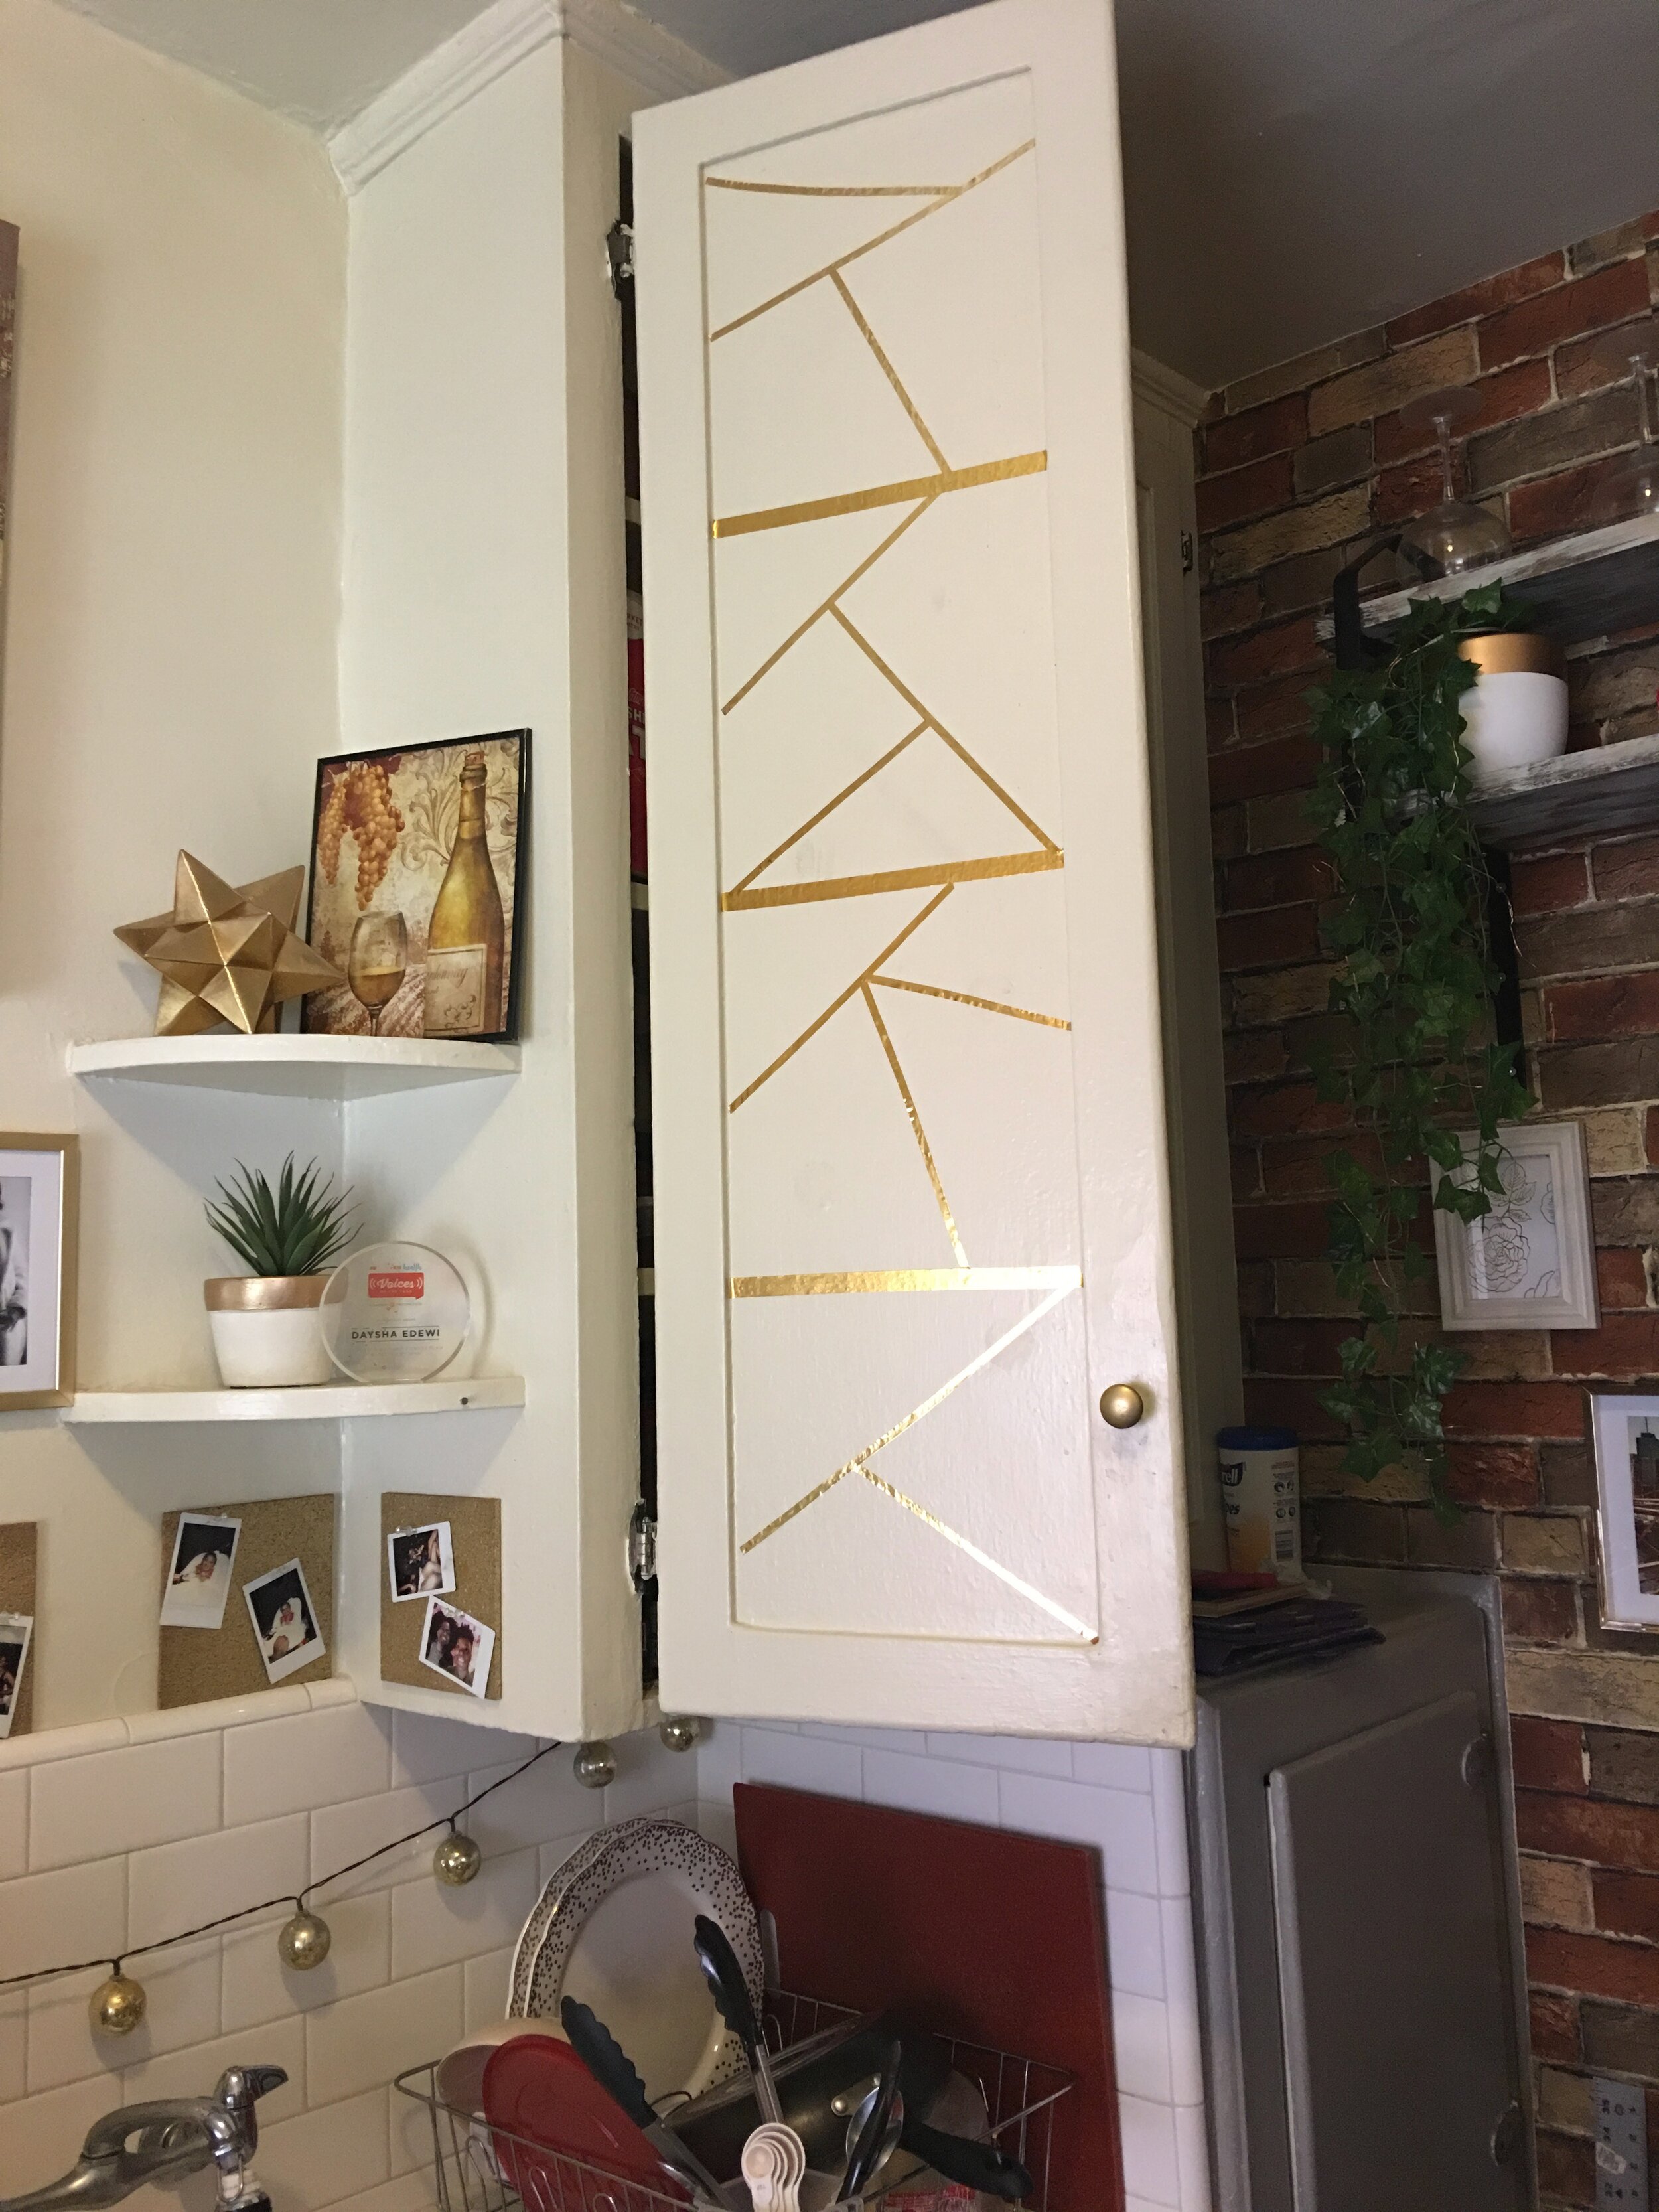
Lastly, as an accent piece, I had these little diamonds with adhesive on the back. So at certain connective points I added a diamond for a little extra touch of glam.
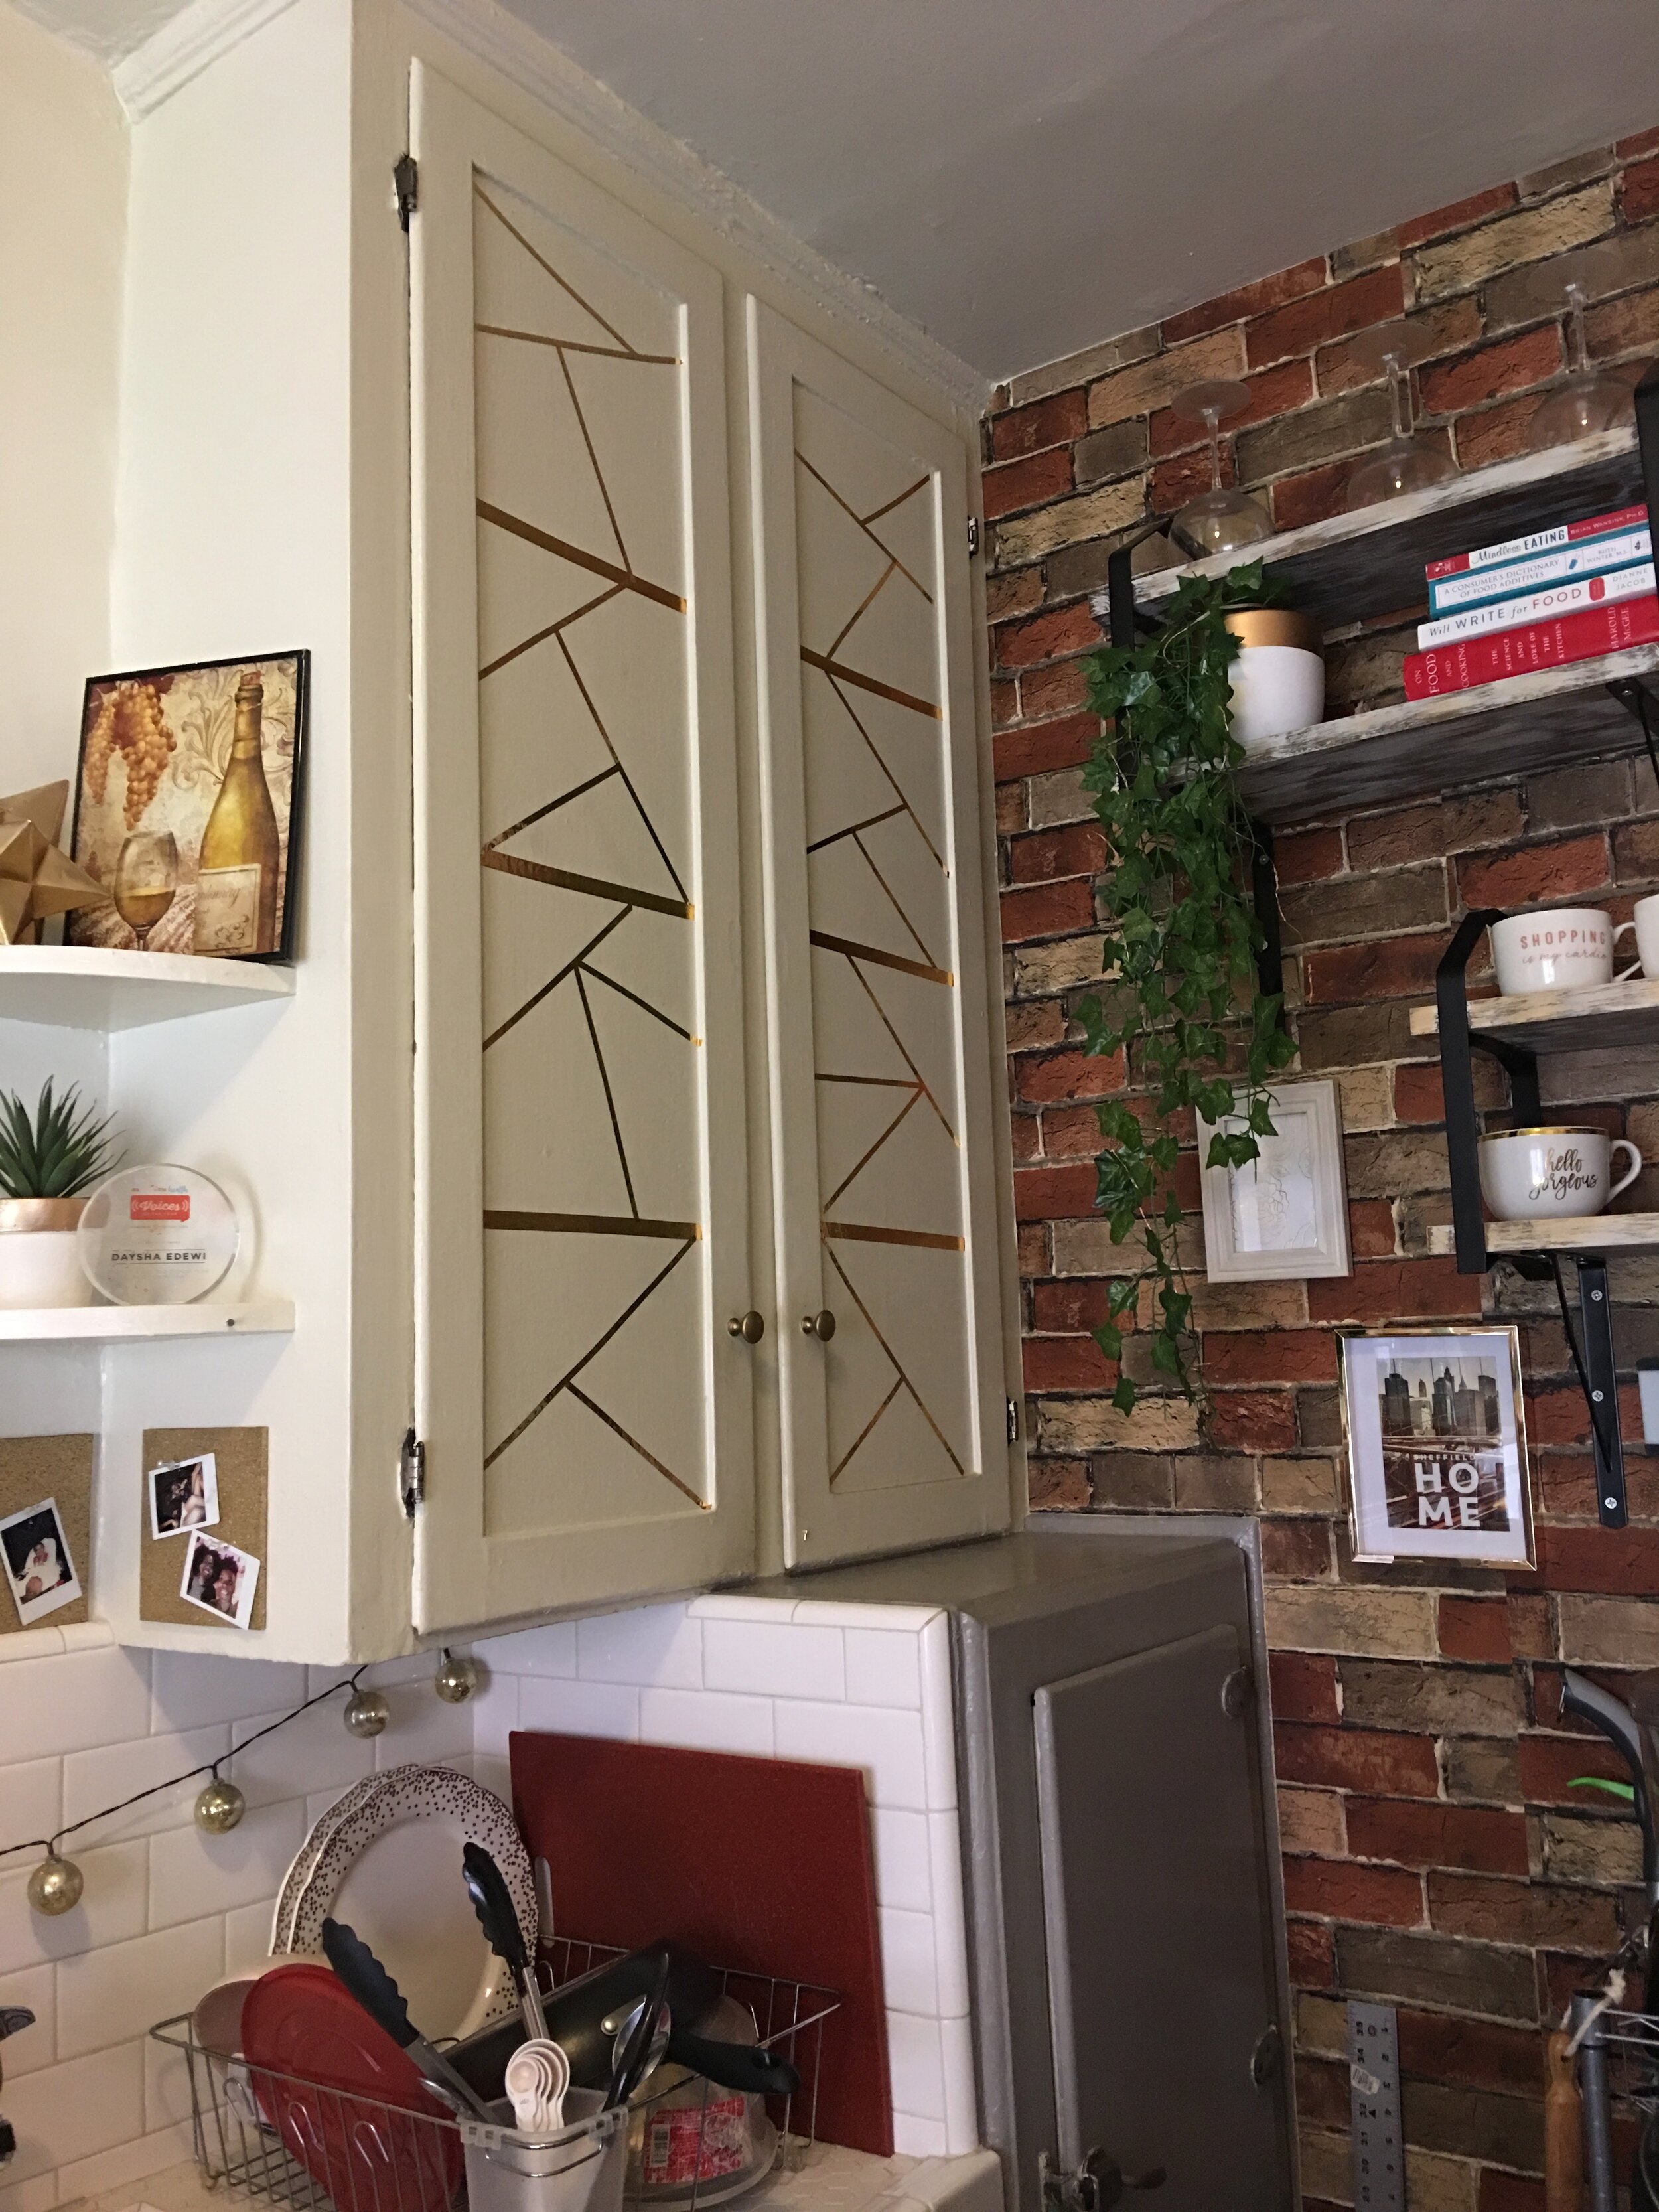
And there you have it!


ZAAAAYYYUUMM! SHE GOT IT GOING ON!
I am SO obsessed with my new cabinet design. It really just gives my cabinet this extra sense of glam and specialness. And the best part about it is that it was super cheap and relatively easy to do.
Steps
Clean/prepare surface of cabinet.
Pick out an art deco design, or use the one I used.
Take a pencil and draw out the design on the cabinets.
Place tape over pencil design.
Put diamond stickers at intersection points of your choosing (optional).
Add photos of loved ones (optional).
Enjoy!
Costs
Mylar tape — Originally $2.41 (but I paid $2.17 with a 10% student discount)
Washi tape — Originally $3.42 (but I paid $2.57 with a 10% student discount)
Diamonds (optional) — So I had these leftover from an old project, and I can’t remember how much I paid for them. But on Amazon they go for anywhere between $3.99-$8.99
Total: $5.04 (w/o diamonds)
I think my next plan will be to find some cool diamond knobs to replace the ones here. What do y’all think?
ARE YOU SIGNED UP?
Make sure you’re following Yes Queen on social media and that you are on our email list to be notified when a new post comes out.
Also make sure you’re following me on Insta to see what new projects or reviews I’m working on right in the moment (@DayshaVeronica).
CHECK OUT MY AMAZON INFLUENCER STORE
Make sure you favorite my Amazon influencer store so you can discover all of the amazing products I mention on my Broke & Bougie posts!