Gold Confetti Black Stripe Fridge // Thick N Fit Kitchen™ Remodel
Hi Queens!
Welcome back to my Thick N Fit Kitchen™ Remodel series where I take you behind the scenes, project by project, of how I created my dream kitchen to make amazing healthy meals in. This week, I wanted to show you how I redesigned my fridge so you can do it too!

So y’all know me, I like nice things for very little to no money. So the best thing about this DIY is that I’m gonna show you all the ways in which I was able to keep my costs low on this project, but still walk away with something fit for a boss queen.
Tools
*Disclosure notice about affiliate links
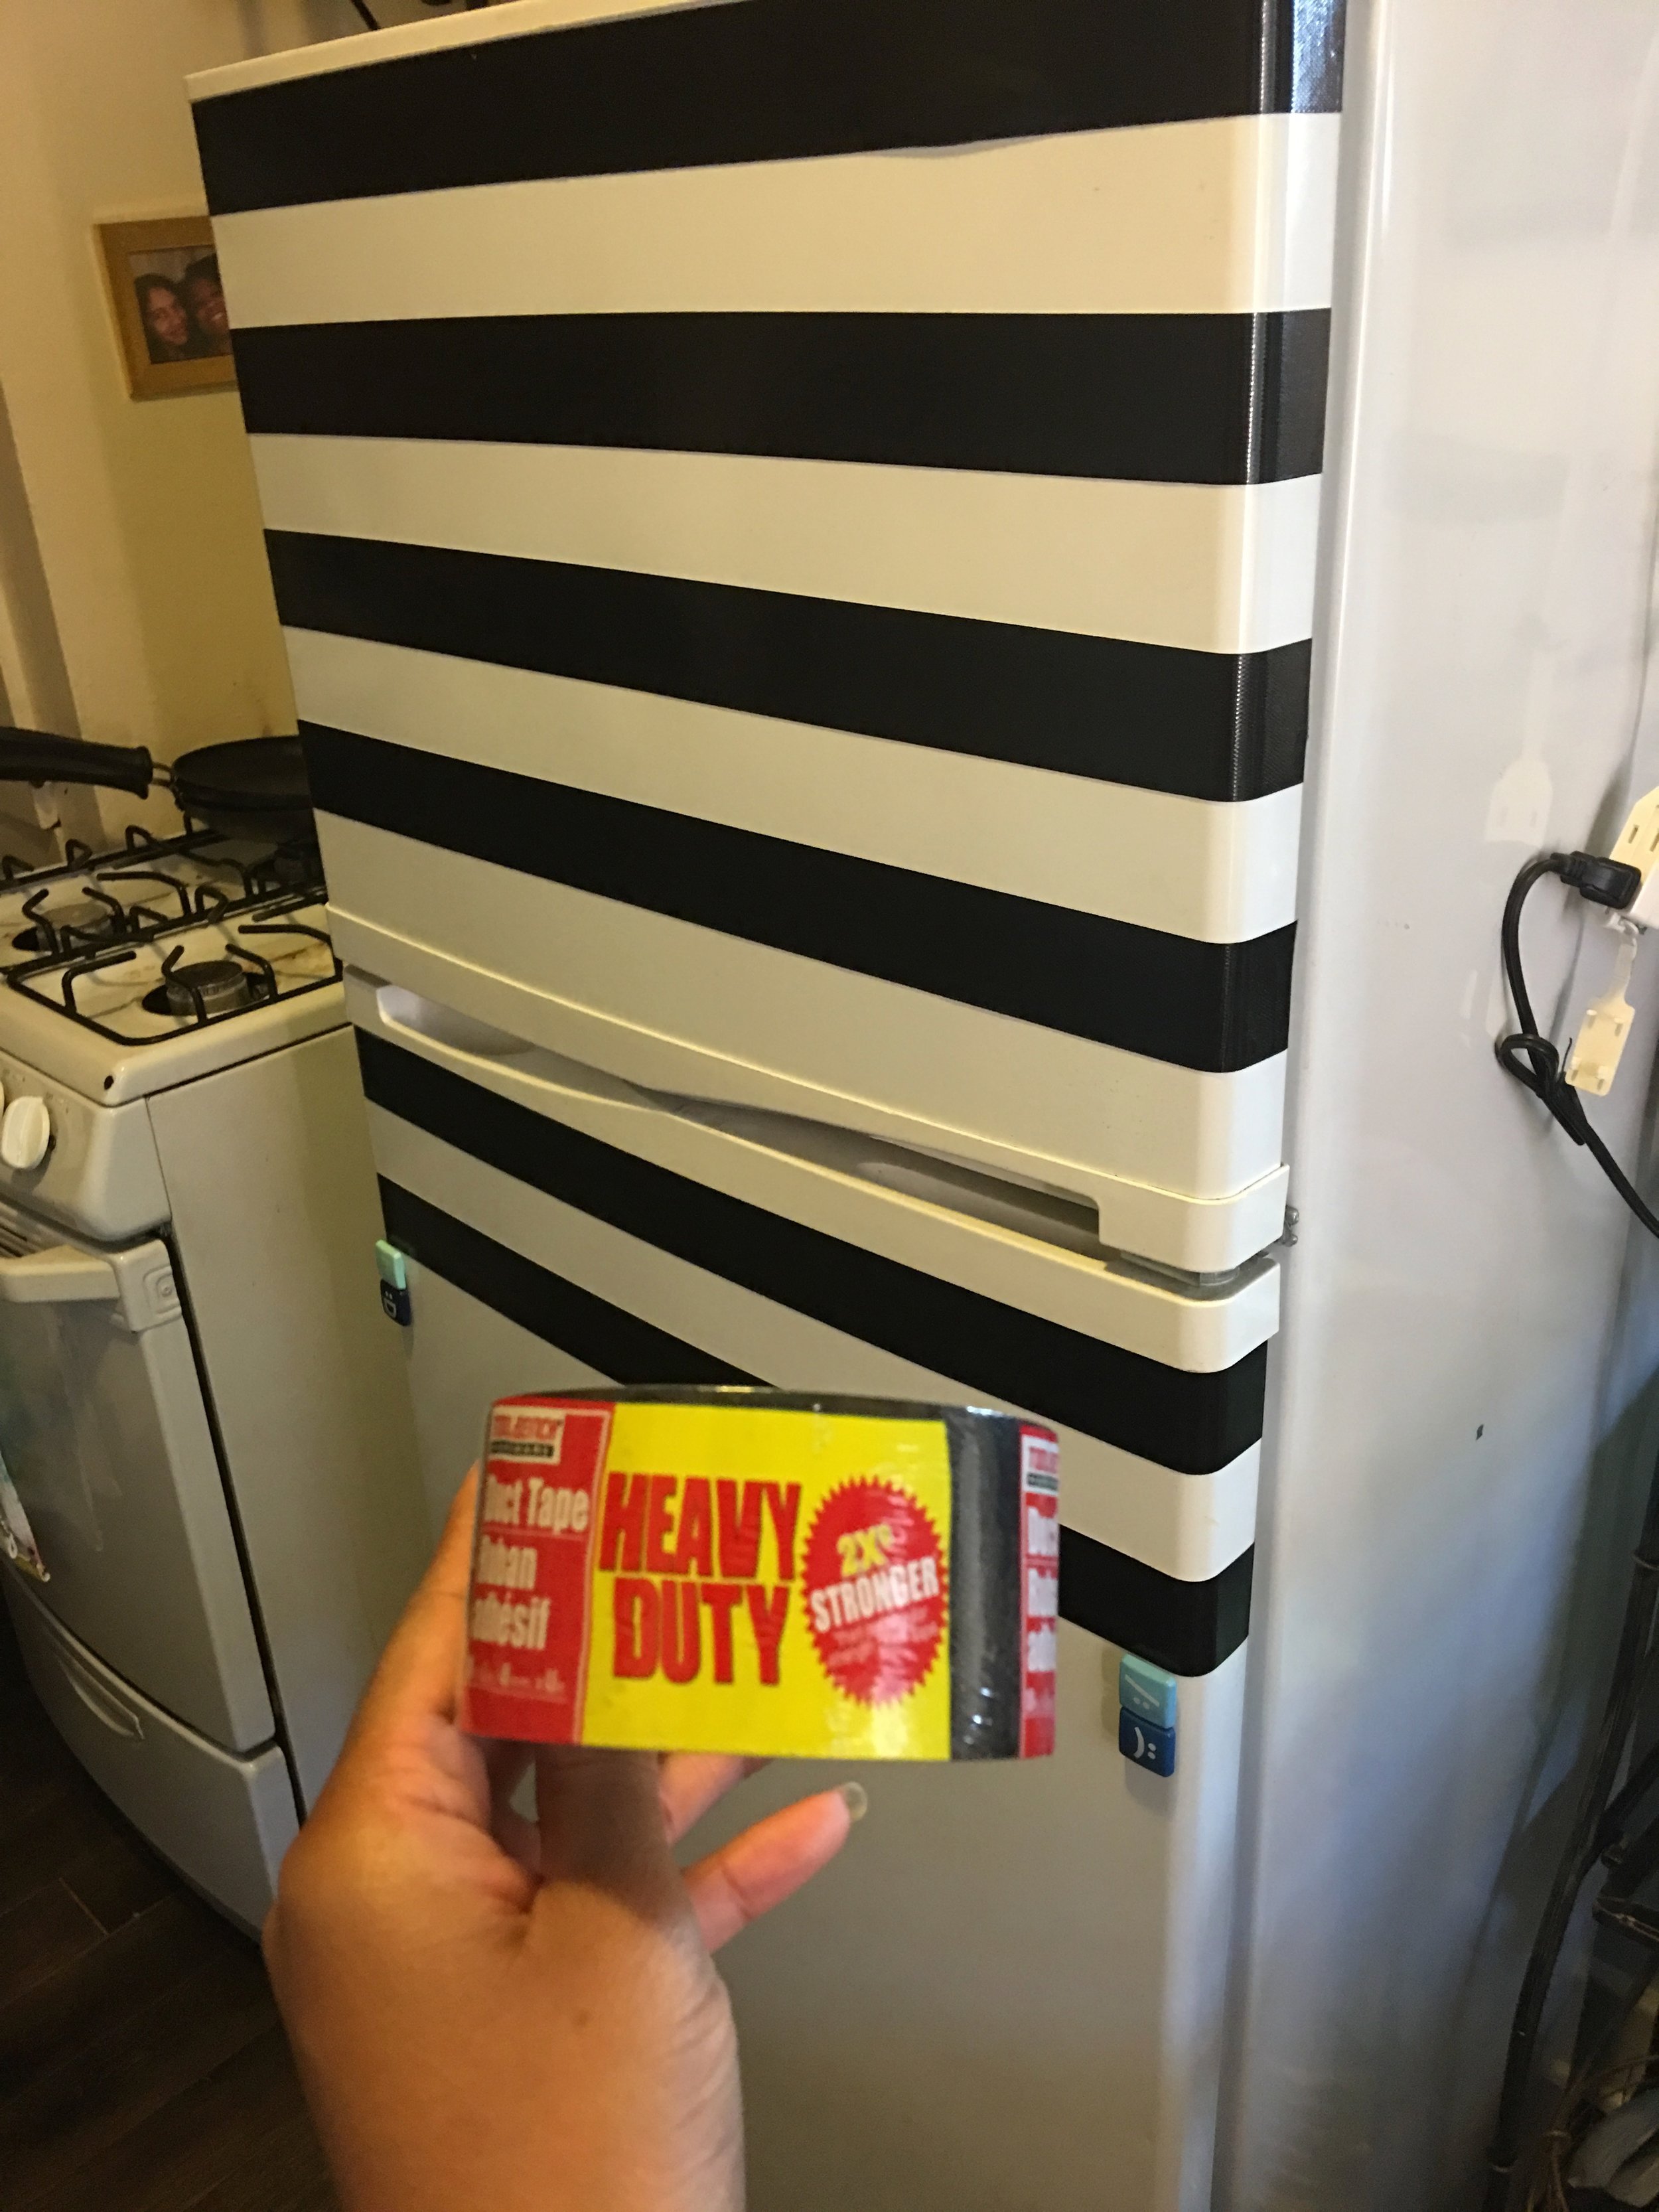
Black Duct Tape
Square Magnets or a Ruler/Straight Edge
Lots of Patience (lol… but actually)
So just a note up front, that last tool is not a joke. This project looks hella easy from the jump, and in a lot of ways it is. But it does take more time than you think it will, and a lot of focus if you want to get the lines straight-- just putting it out there!
Time: 2.5-3+ hours
So I knew I wanted to redo my fridge, and after searching around on Pinterest for weeks I was caught between 2 designs.
I loved this black and brass contrast combo, but I was also equally drawn to this striped look. Ultimately, I decided that because I’m still a renter it would be much easier to remove the duct tape than it would be to take paint off of a fridge.
So then I struggled with whether or not to stripe the fridge with gold or black duct tape.
You’ll commonly see the gold look going around Pinterest, and y’all know I LOVE me some gold anything. But I ultimately settled on the black because
I could get the amount I needed at the dollar store for a reasonable price
I thought it would give the fridge/overall kitchen design some nice contrast
I knew I wanted to get some letter magnets and do this DIY at some point, and that black and white would be a better background for them
The Process
DAY 1
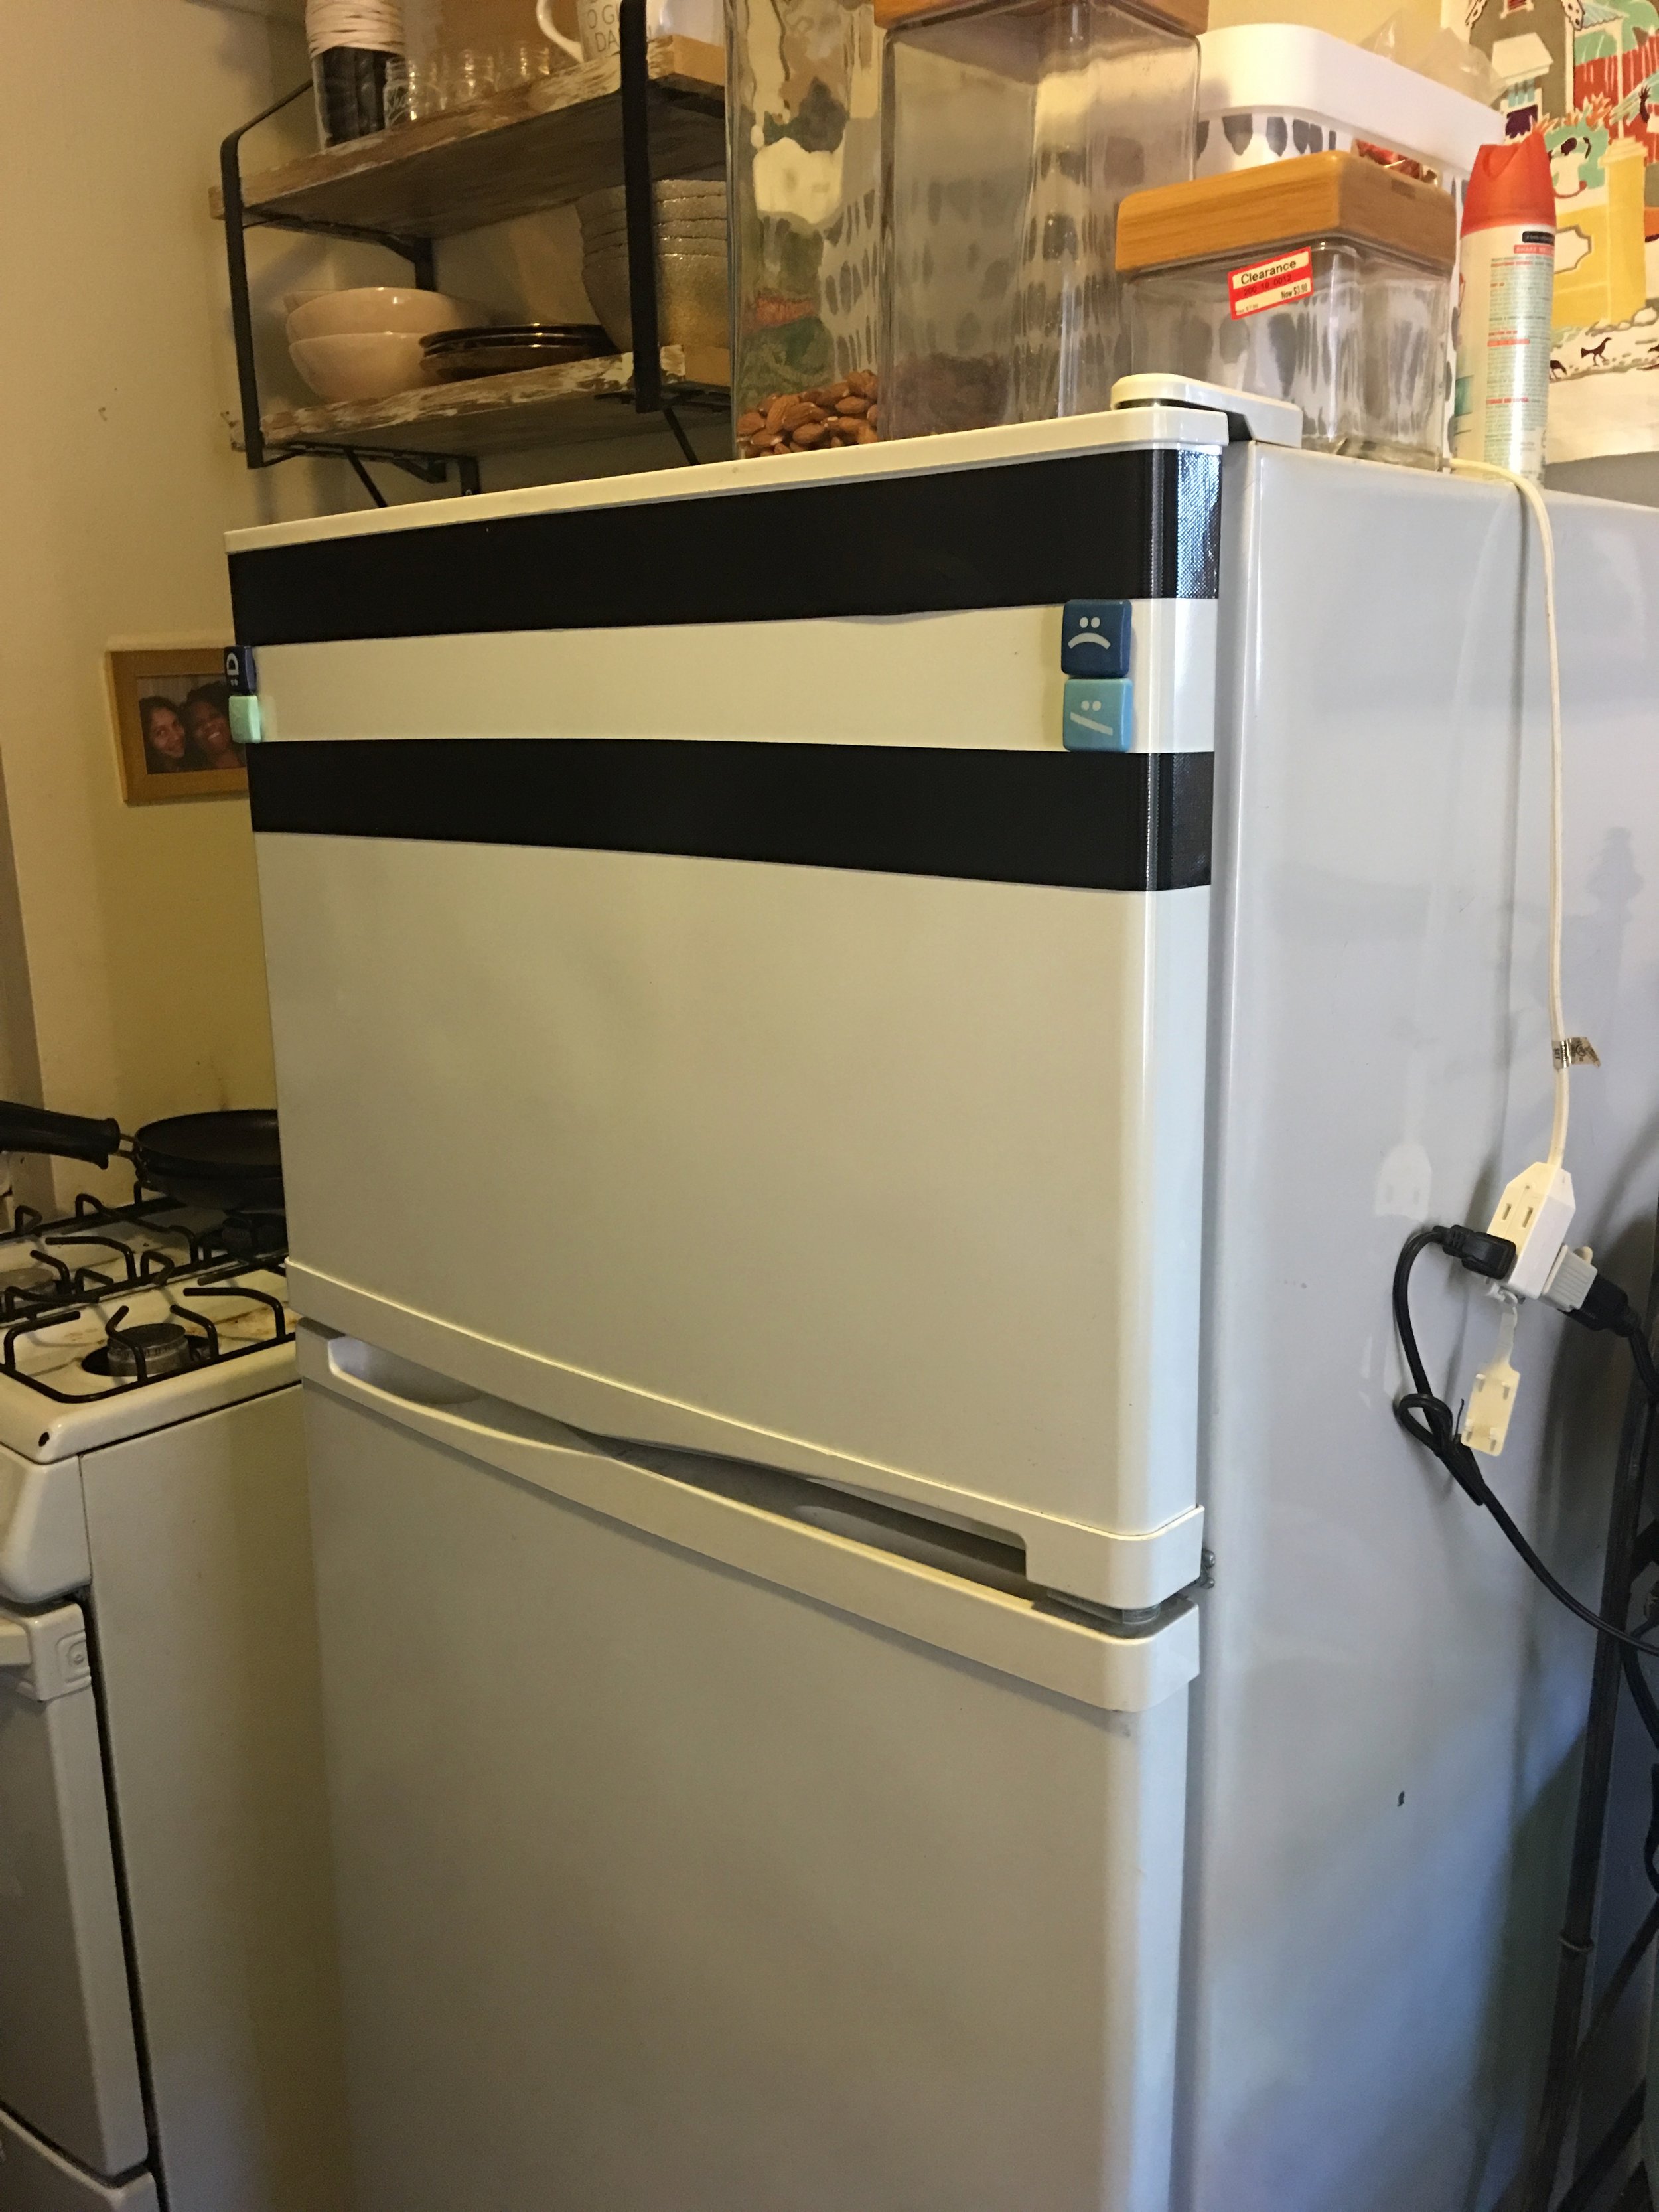
So, first, I stripped the fridge down and wiped down the surface with a general surface cleaner. I had stickers on the fridge prior, so there was definitely a lot of adhesive residue that needed to get cleaned off.
Then starting from the top, I laid down the top strip, and with the help of 4 small square magnets (2 on each side), I created a layer of white space for me to start the next strip. You could also use a straight edge/ruler and pre-draw out the lines on the fridge, but I actually liked using the magnets because it allowed me to shave off the time it would have taken me to draw out the lines. But what I will say is that you have to have a good eye for straight lines if you use the magnets. I was constantly having to realign the tape because of how easy it was for the tape to come off course by accident.
It’s up to you how much space you want between the strips. For me, since the tape was thick, I thought a complementary amount of space between strips would look nice. But if you get thinner tape, you could probably have less space in between them.

Click through to see more photos from this project!
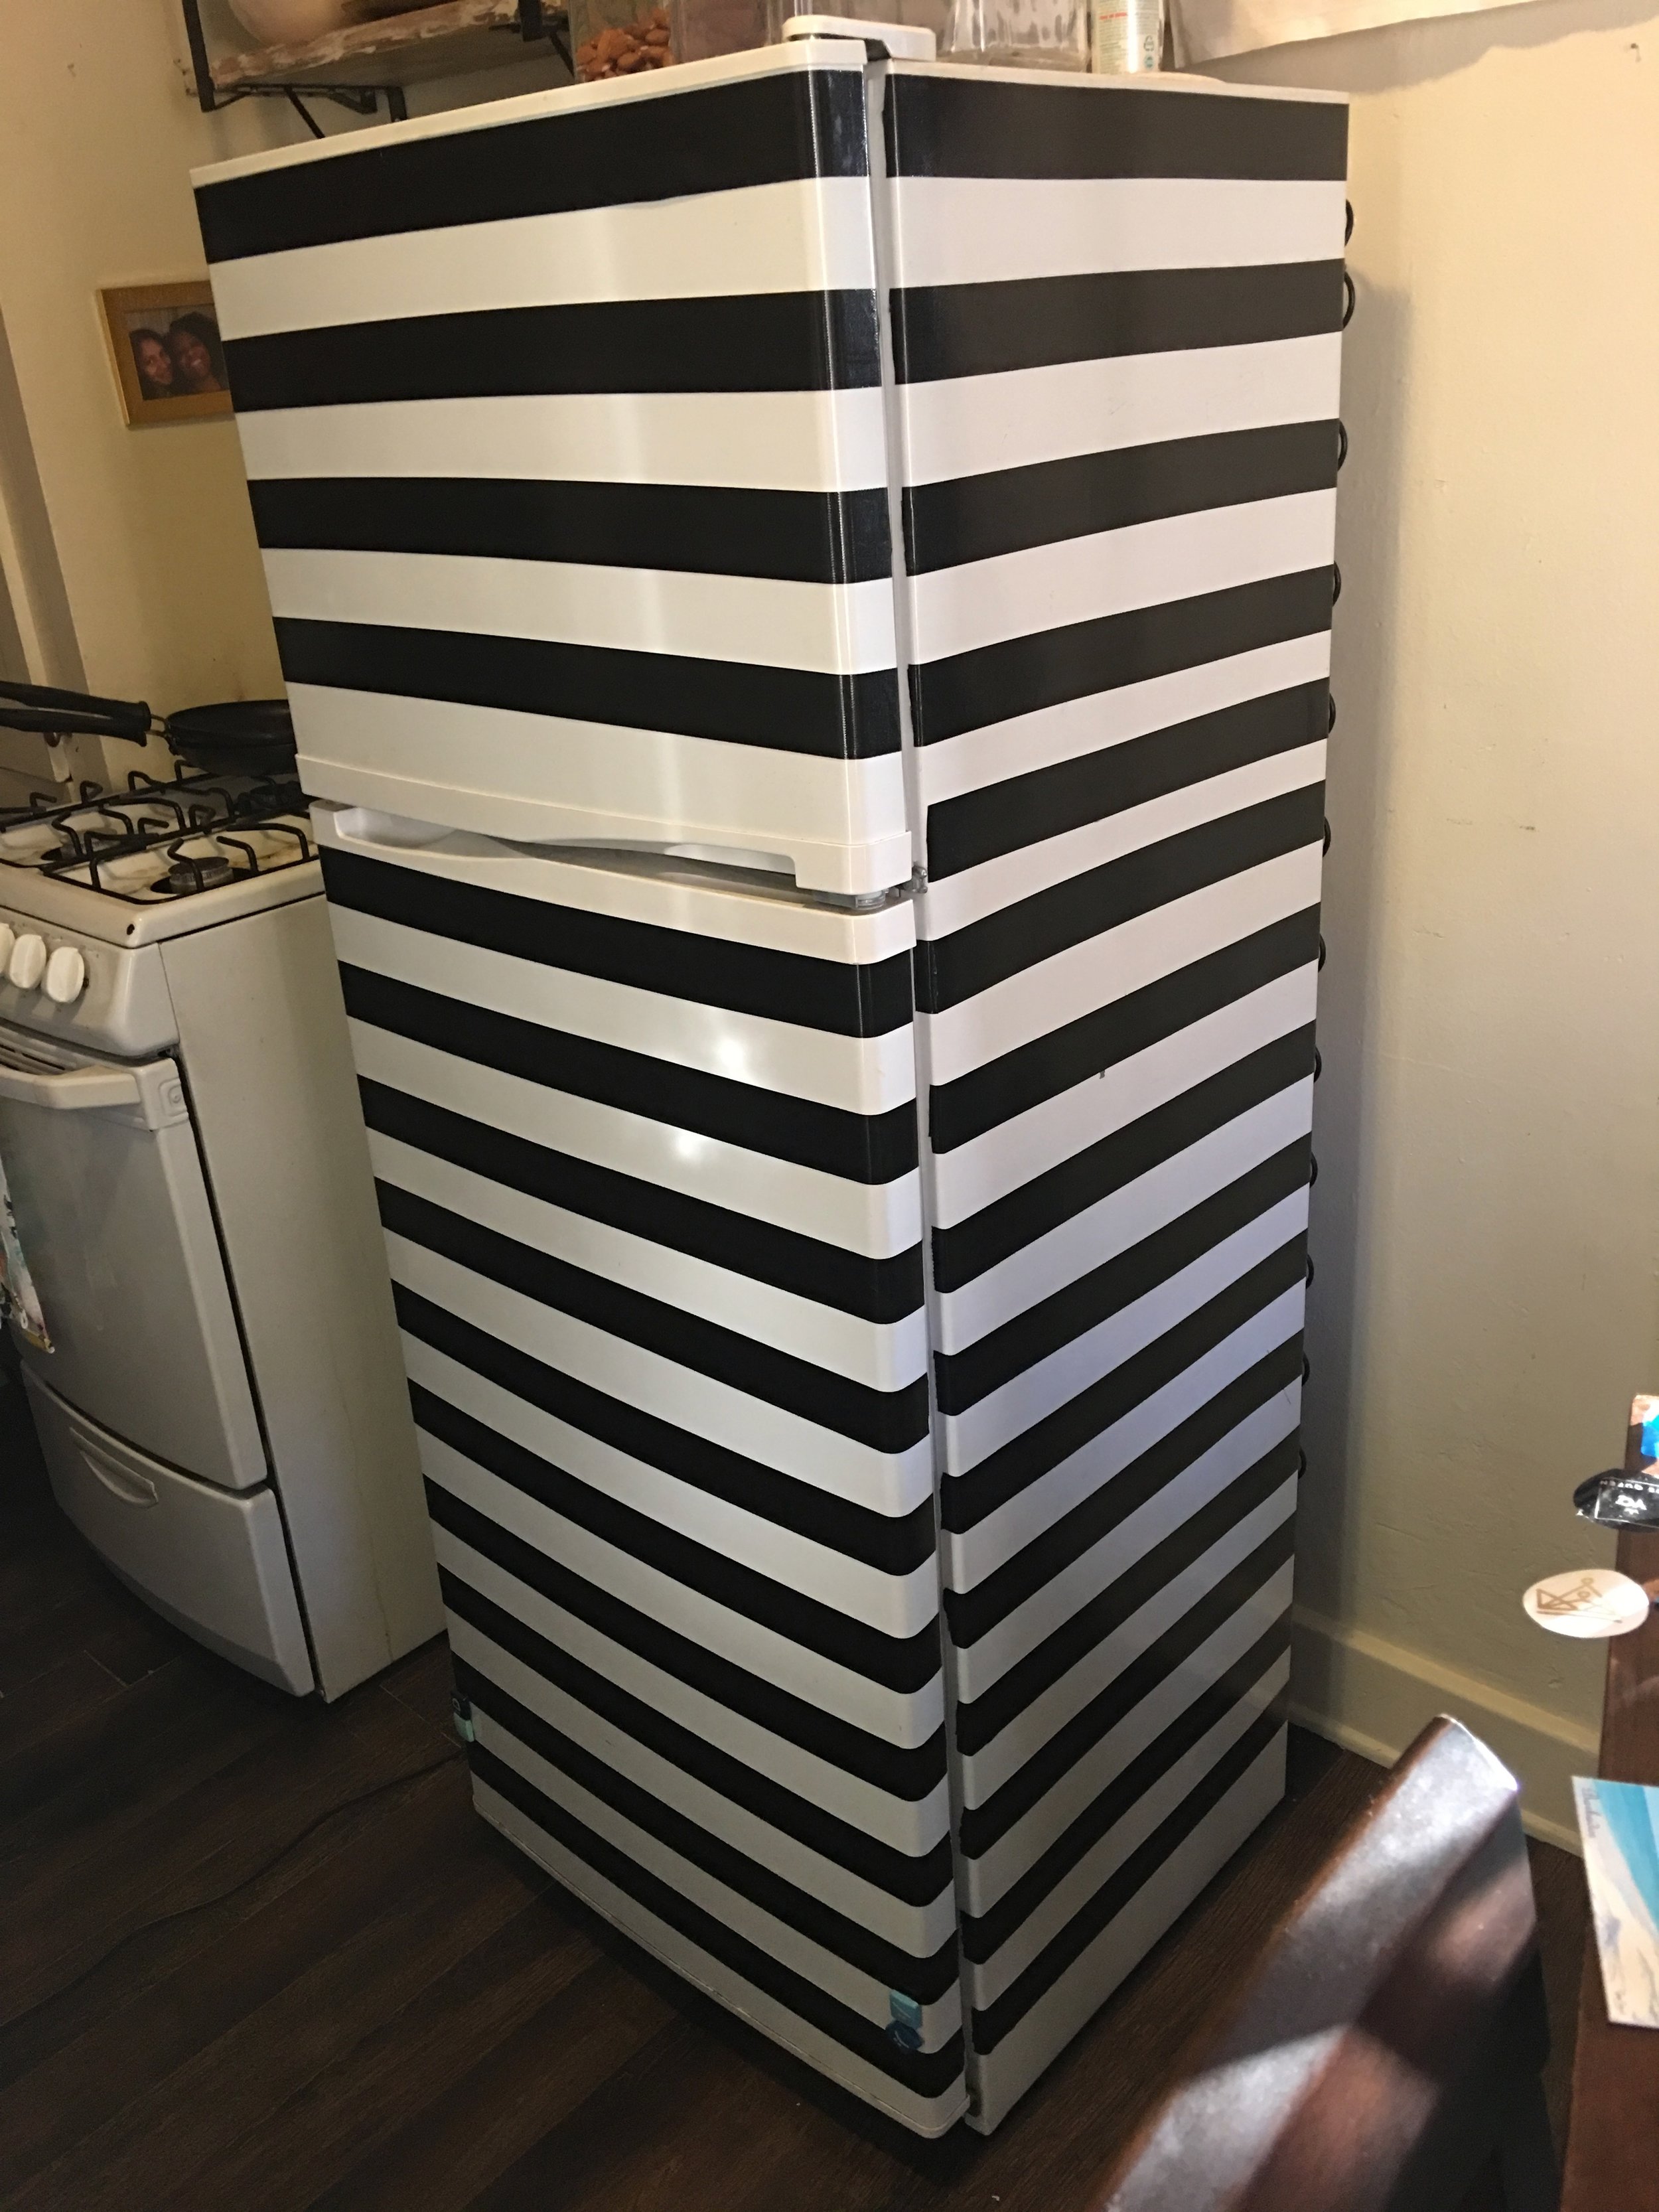
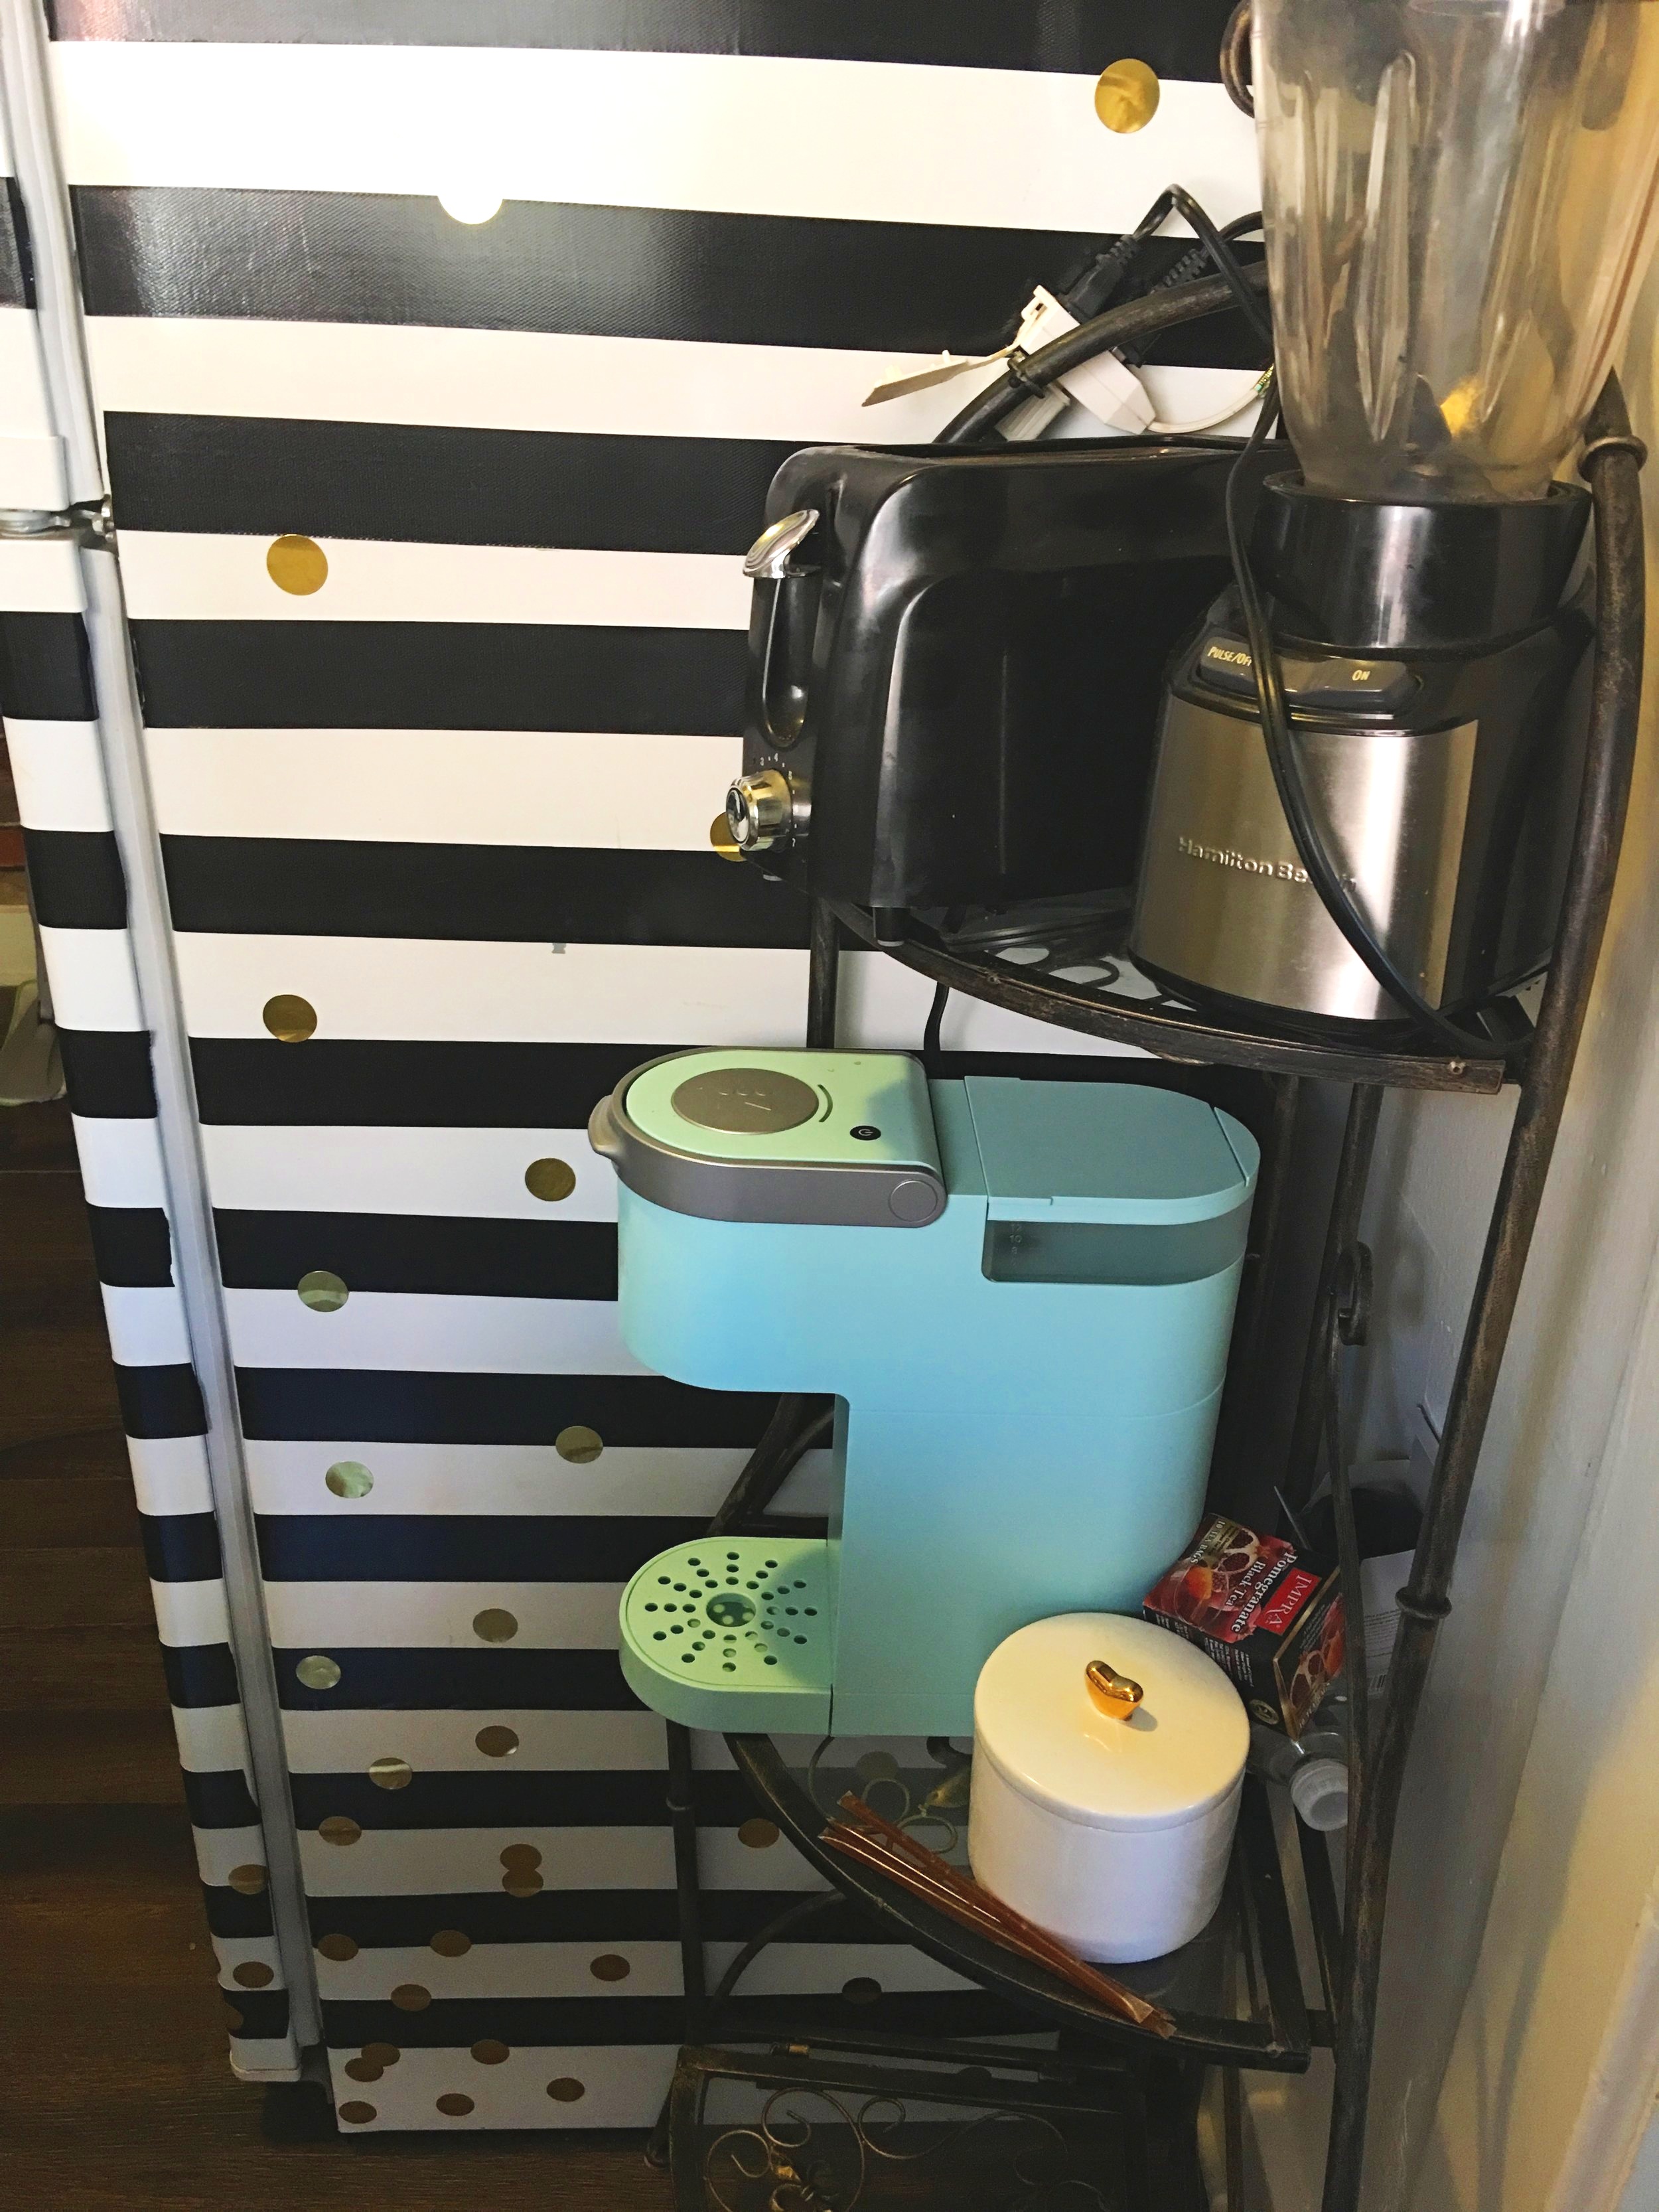
So after about 3 long hours I got 2 sides done. I decided to leave the side facing the stove as is because you can barely see it. However, if your fridge isn’t in a nook like mine is, and it might bother you to leave it exposed, you’re definitely looking at more of a 5-6 hour project if you do it alone.
So, I gotta be honest and say that after I finished it, I was having some real doubts as to whether or not I picked the right color. The black looked nice, don’t get me wrong. But there was still something about the gold look that was gnawing at me. I should have known better than to embark on this journey during a retrograde (lol), but you can’t help when inspiration calls.
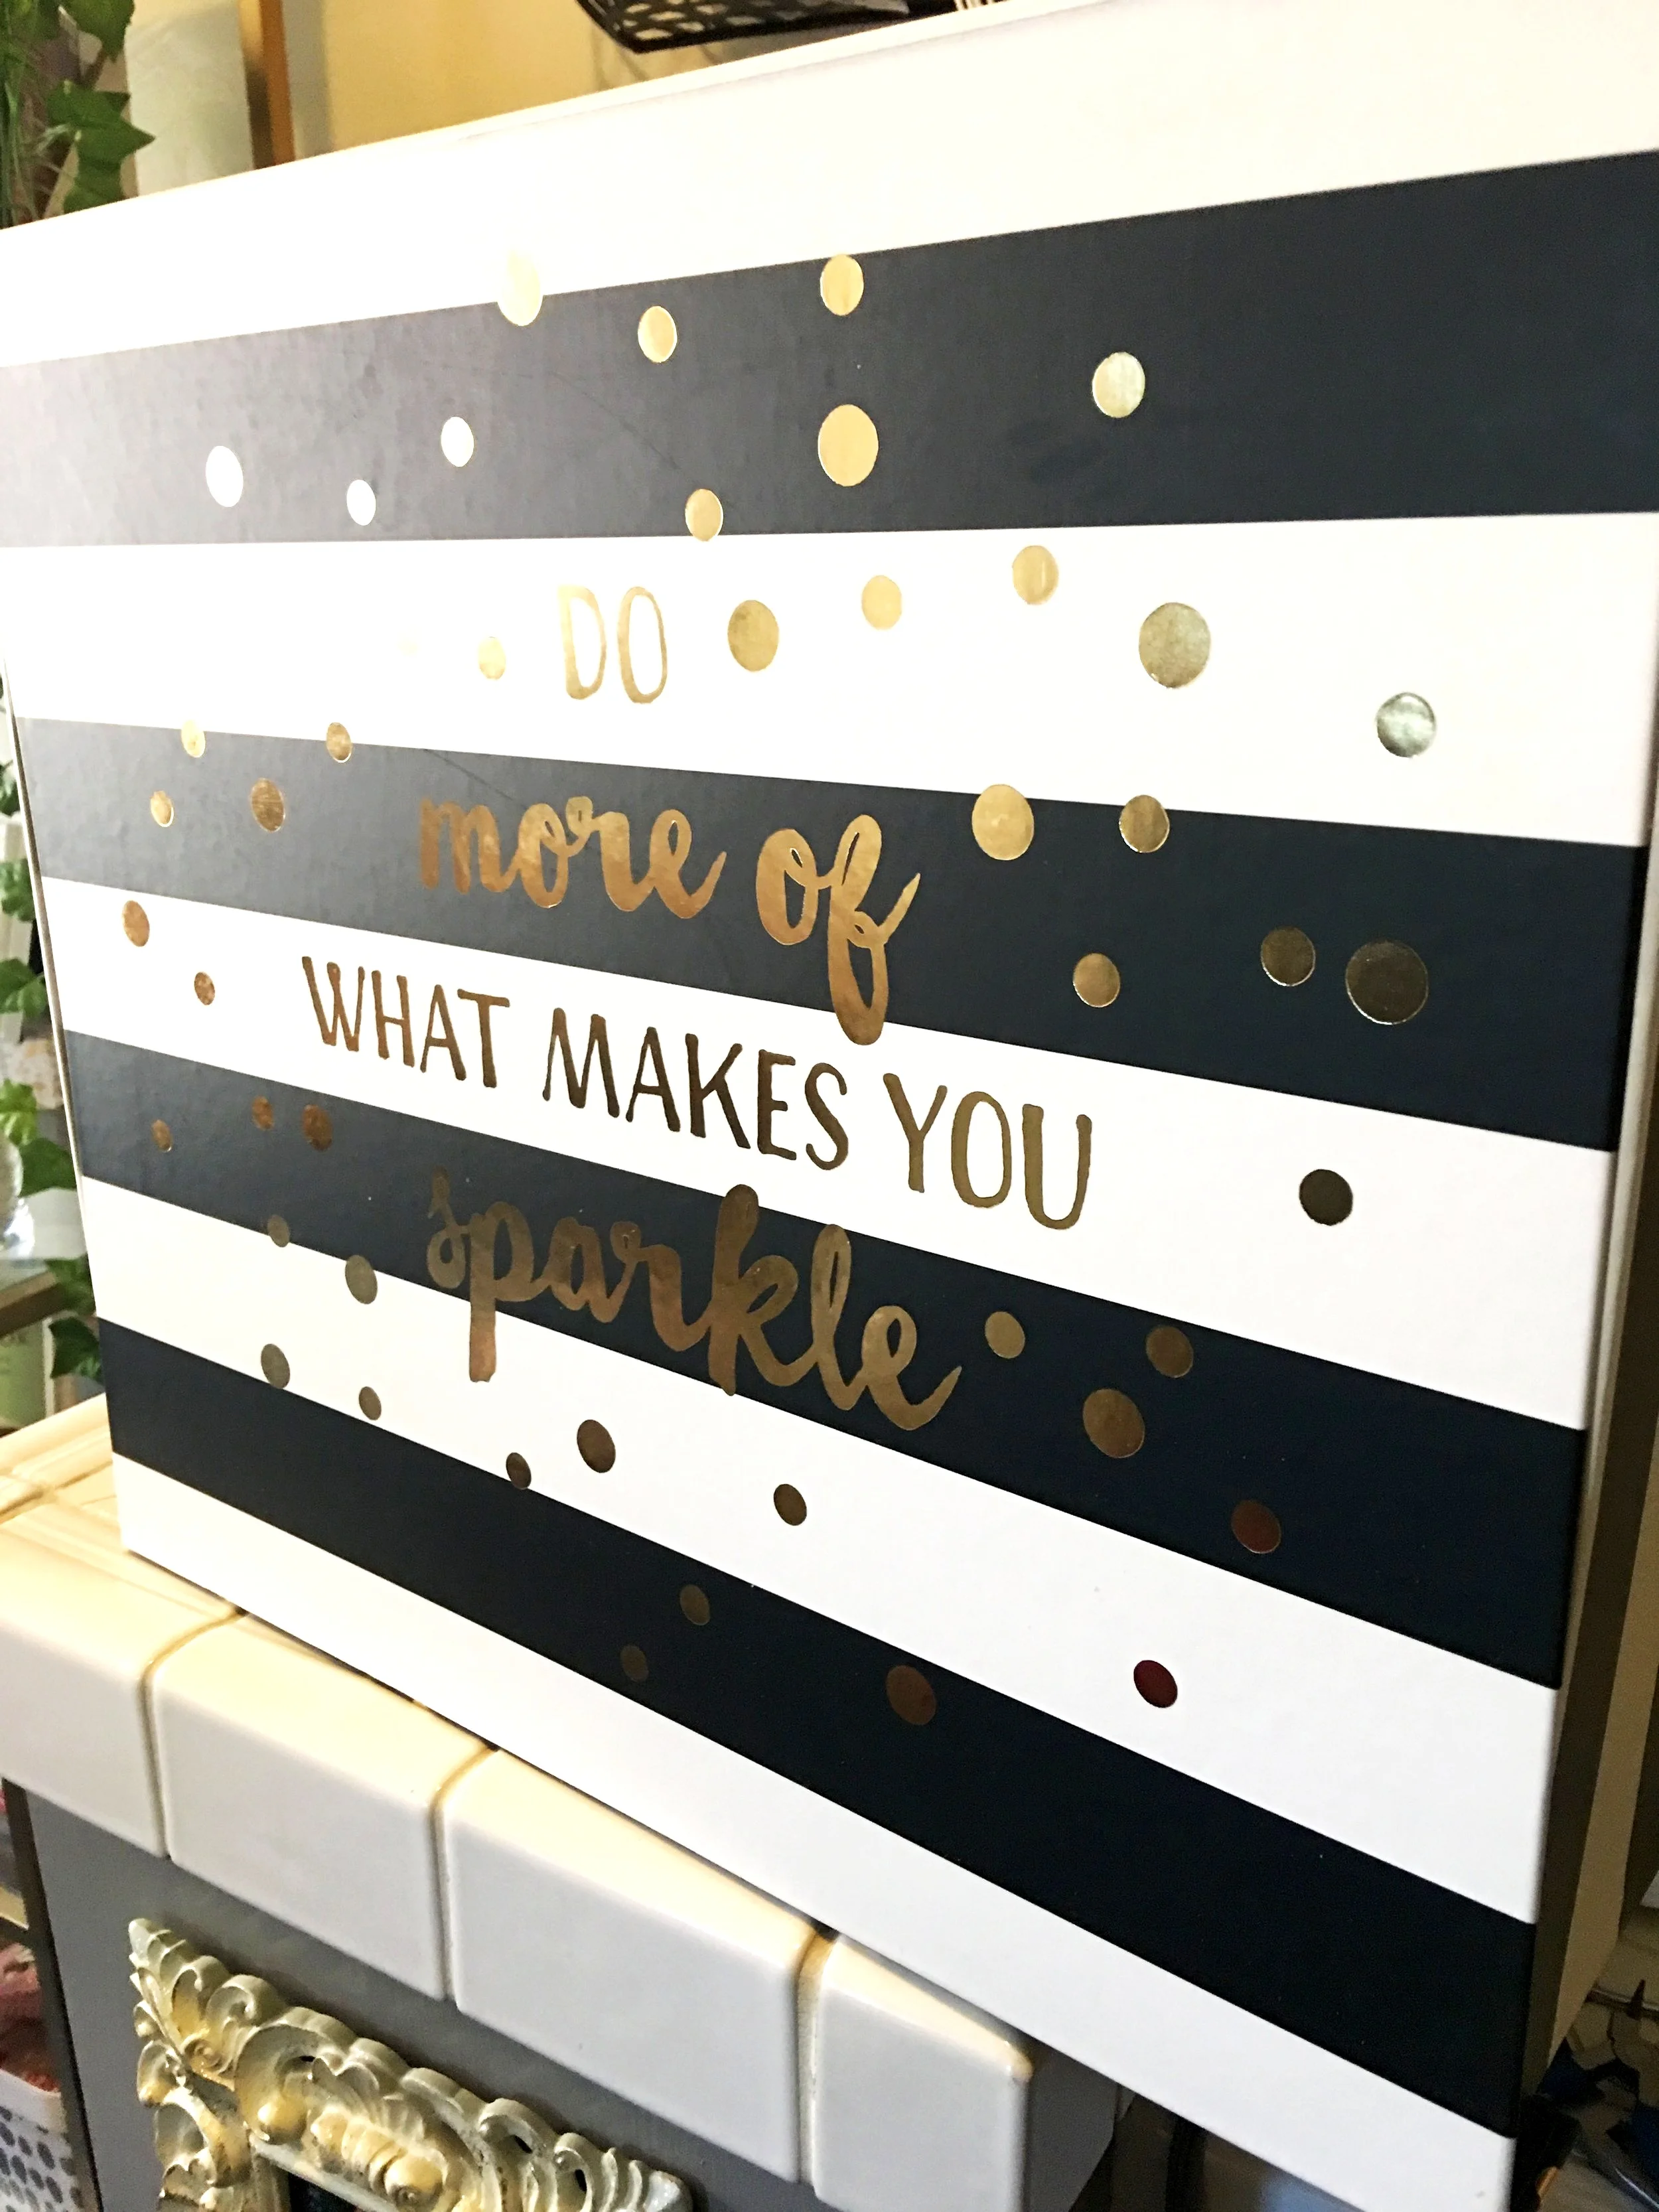
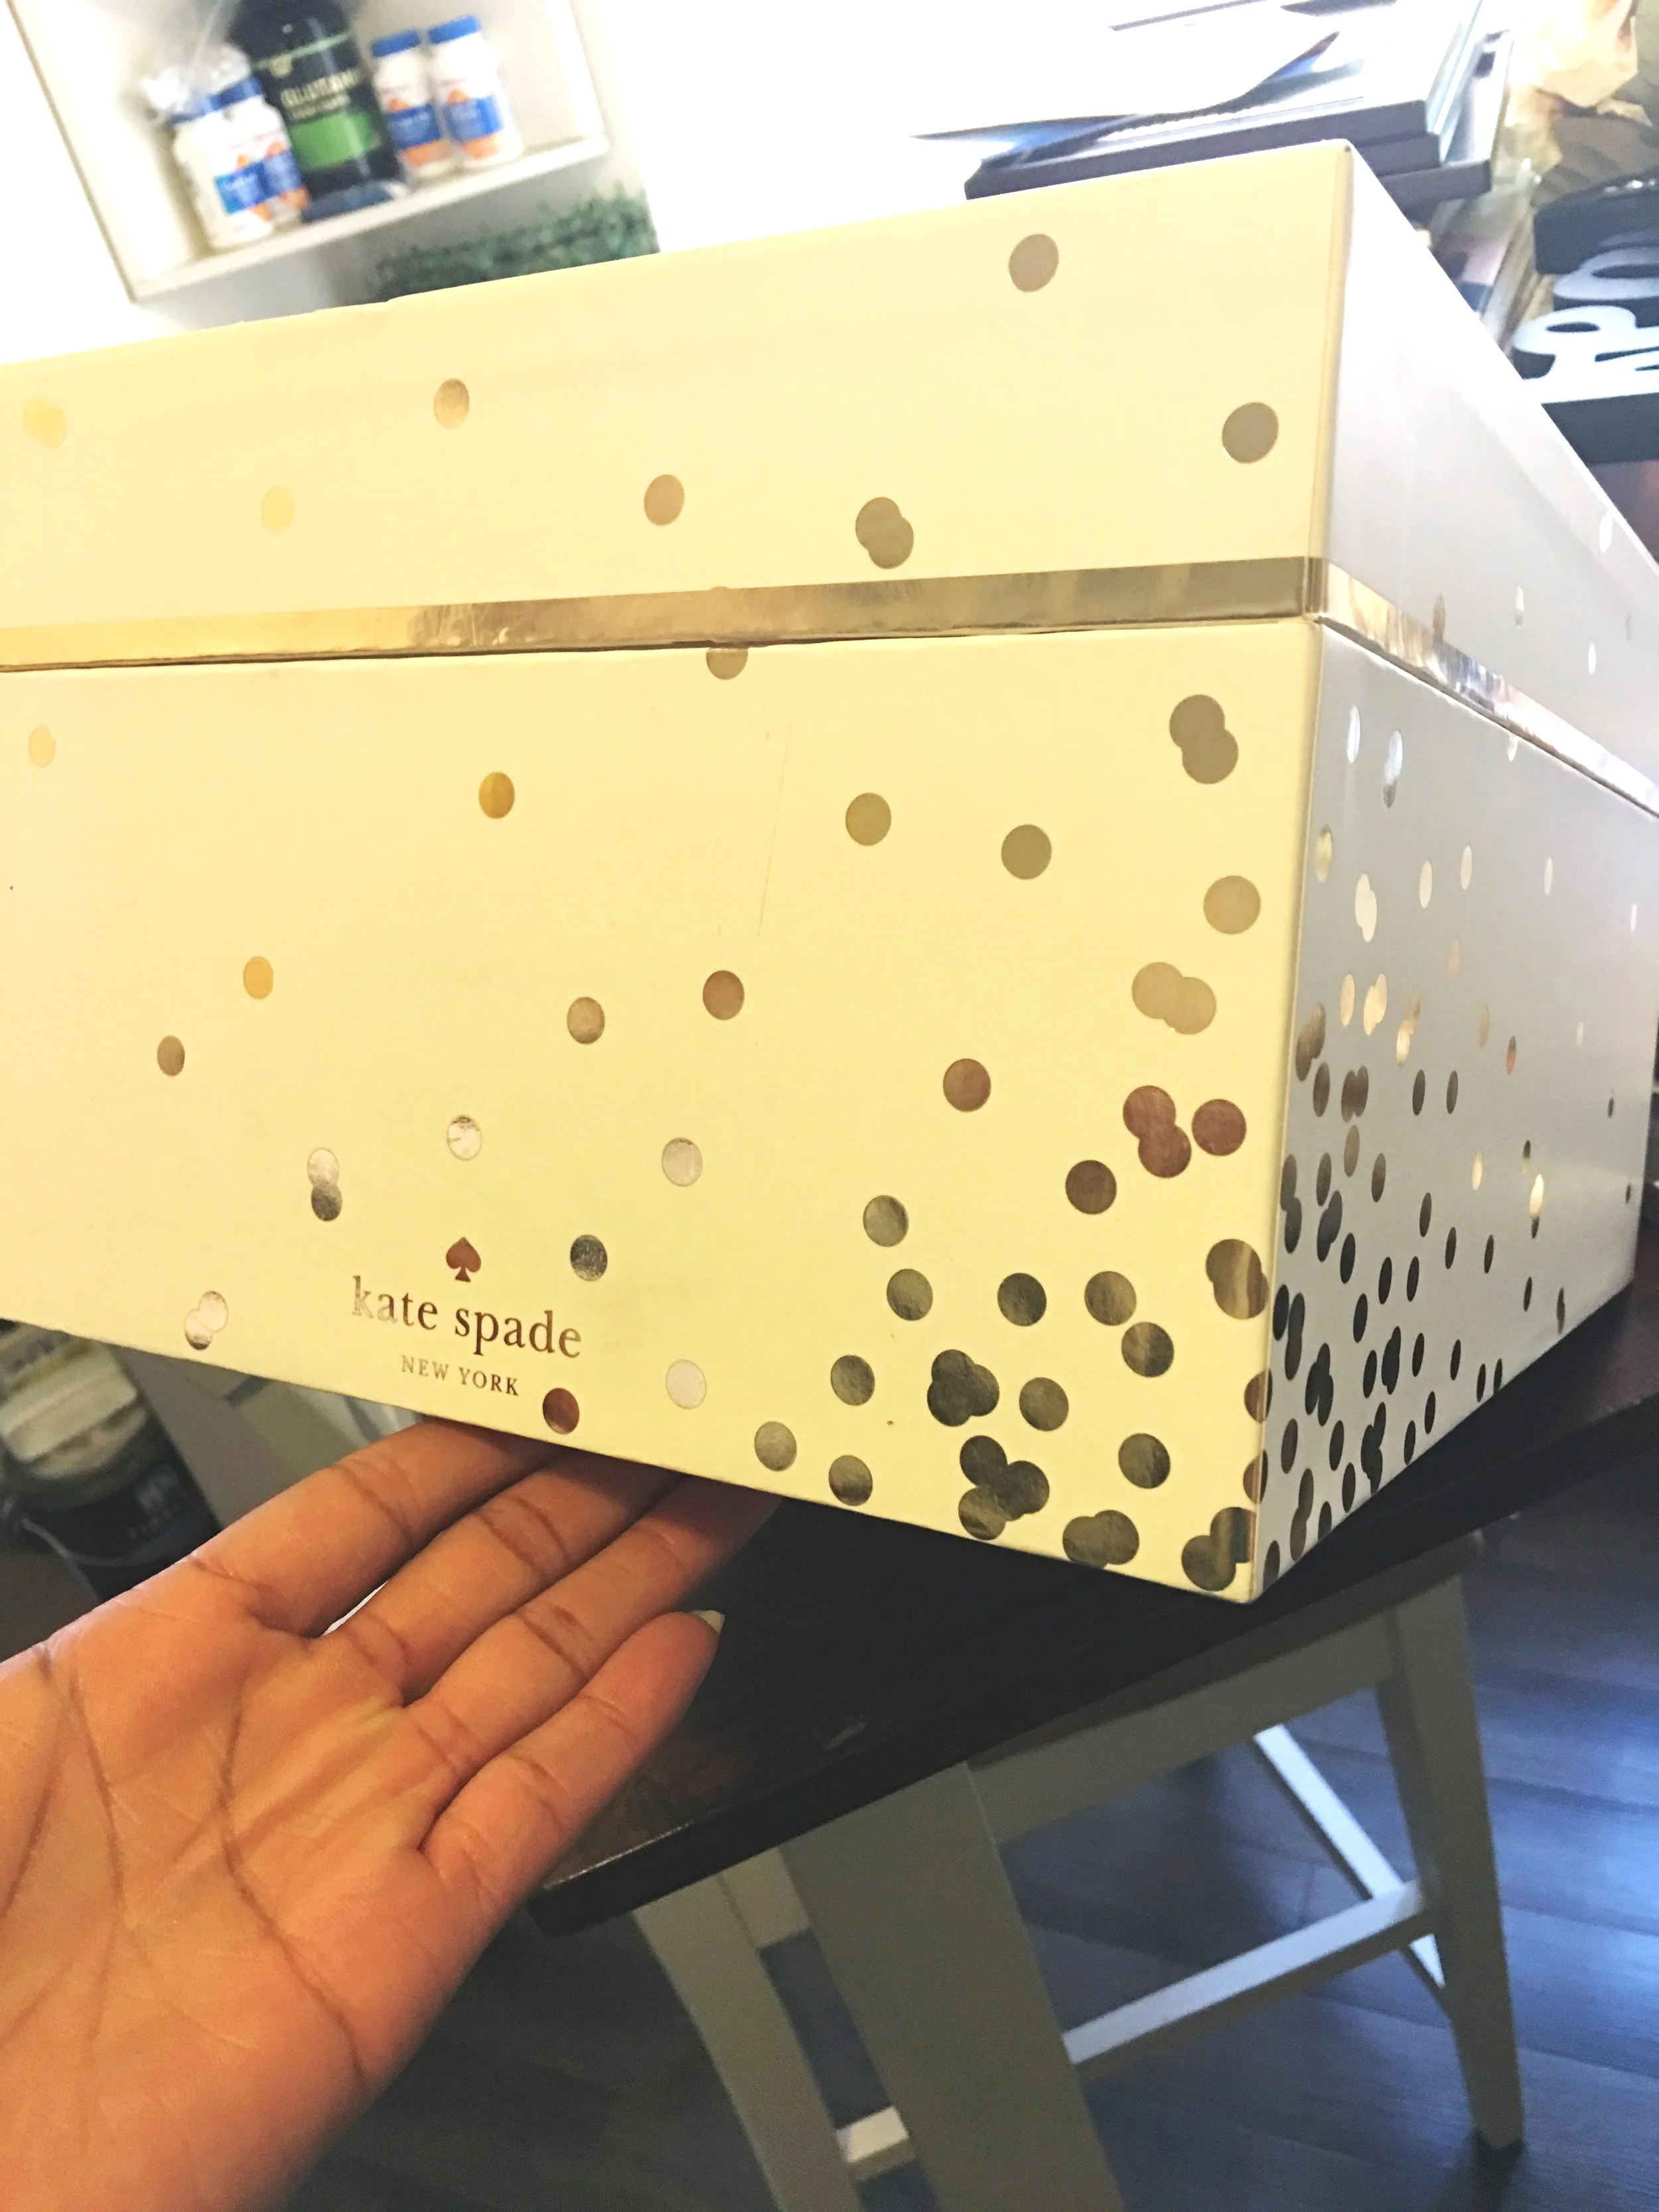
So for a few days, I kept wrestling in my head whether or not I should start over and actually use gold duct tape until the design gods sent me the perfect answer to my problems. So I recently gotten into buying nesting boxes, which are a stylish way to house your knick knacks and personal items/photos. I got a black and white striped box with gold polka dots on it, and a gold confetti nesting box by Kate Spade (which I’m 1000% over the moon about). I just happened to be looking at both boxes on top of one another one day, and the new design just hit me like a ton of bricks.
Day 2
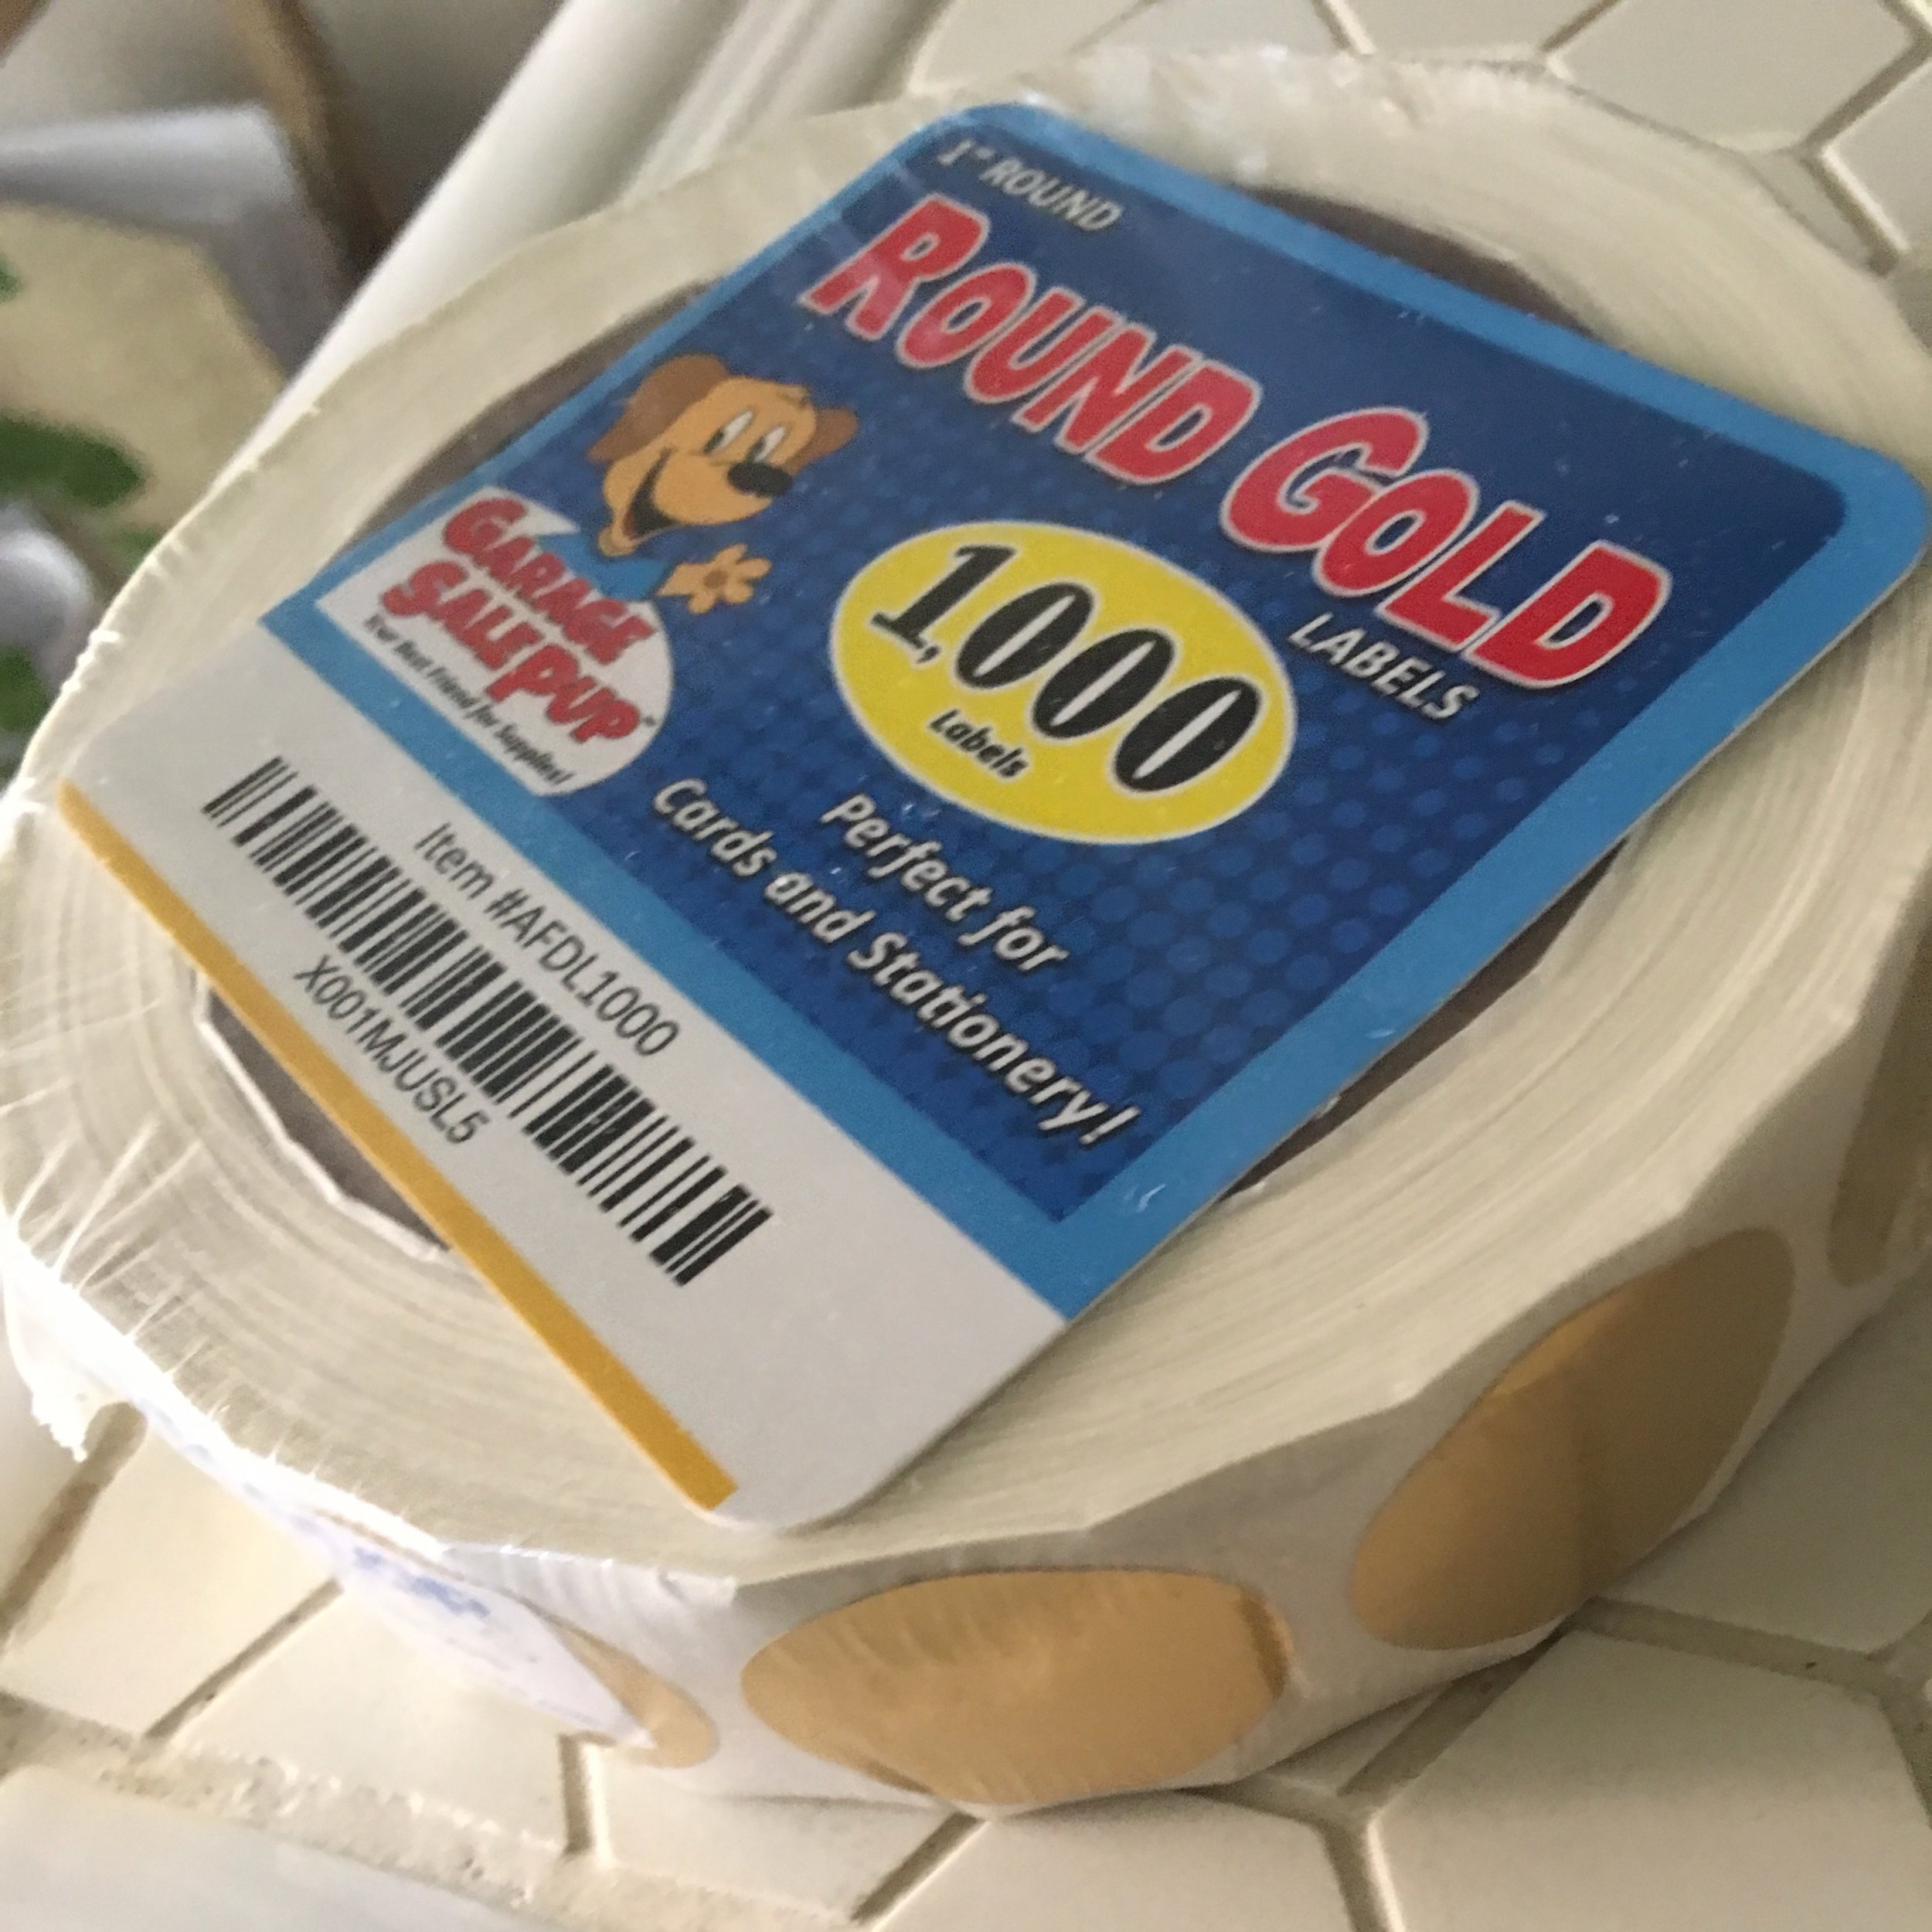
So after ordering these gold dot stickers off of Amazon, I used the Kate Spade gold confetti pattern as inspiration for how I would lay the gold dots down on the fridge.
LOOK AT HEEEEERRRRR!!
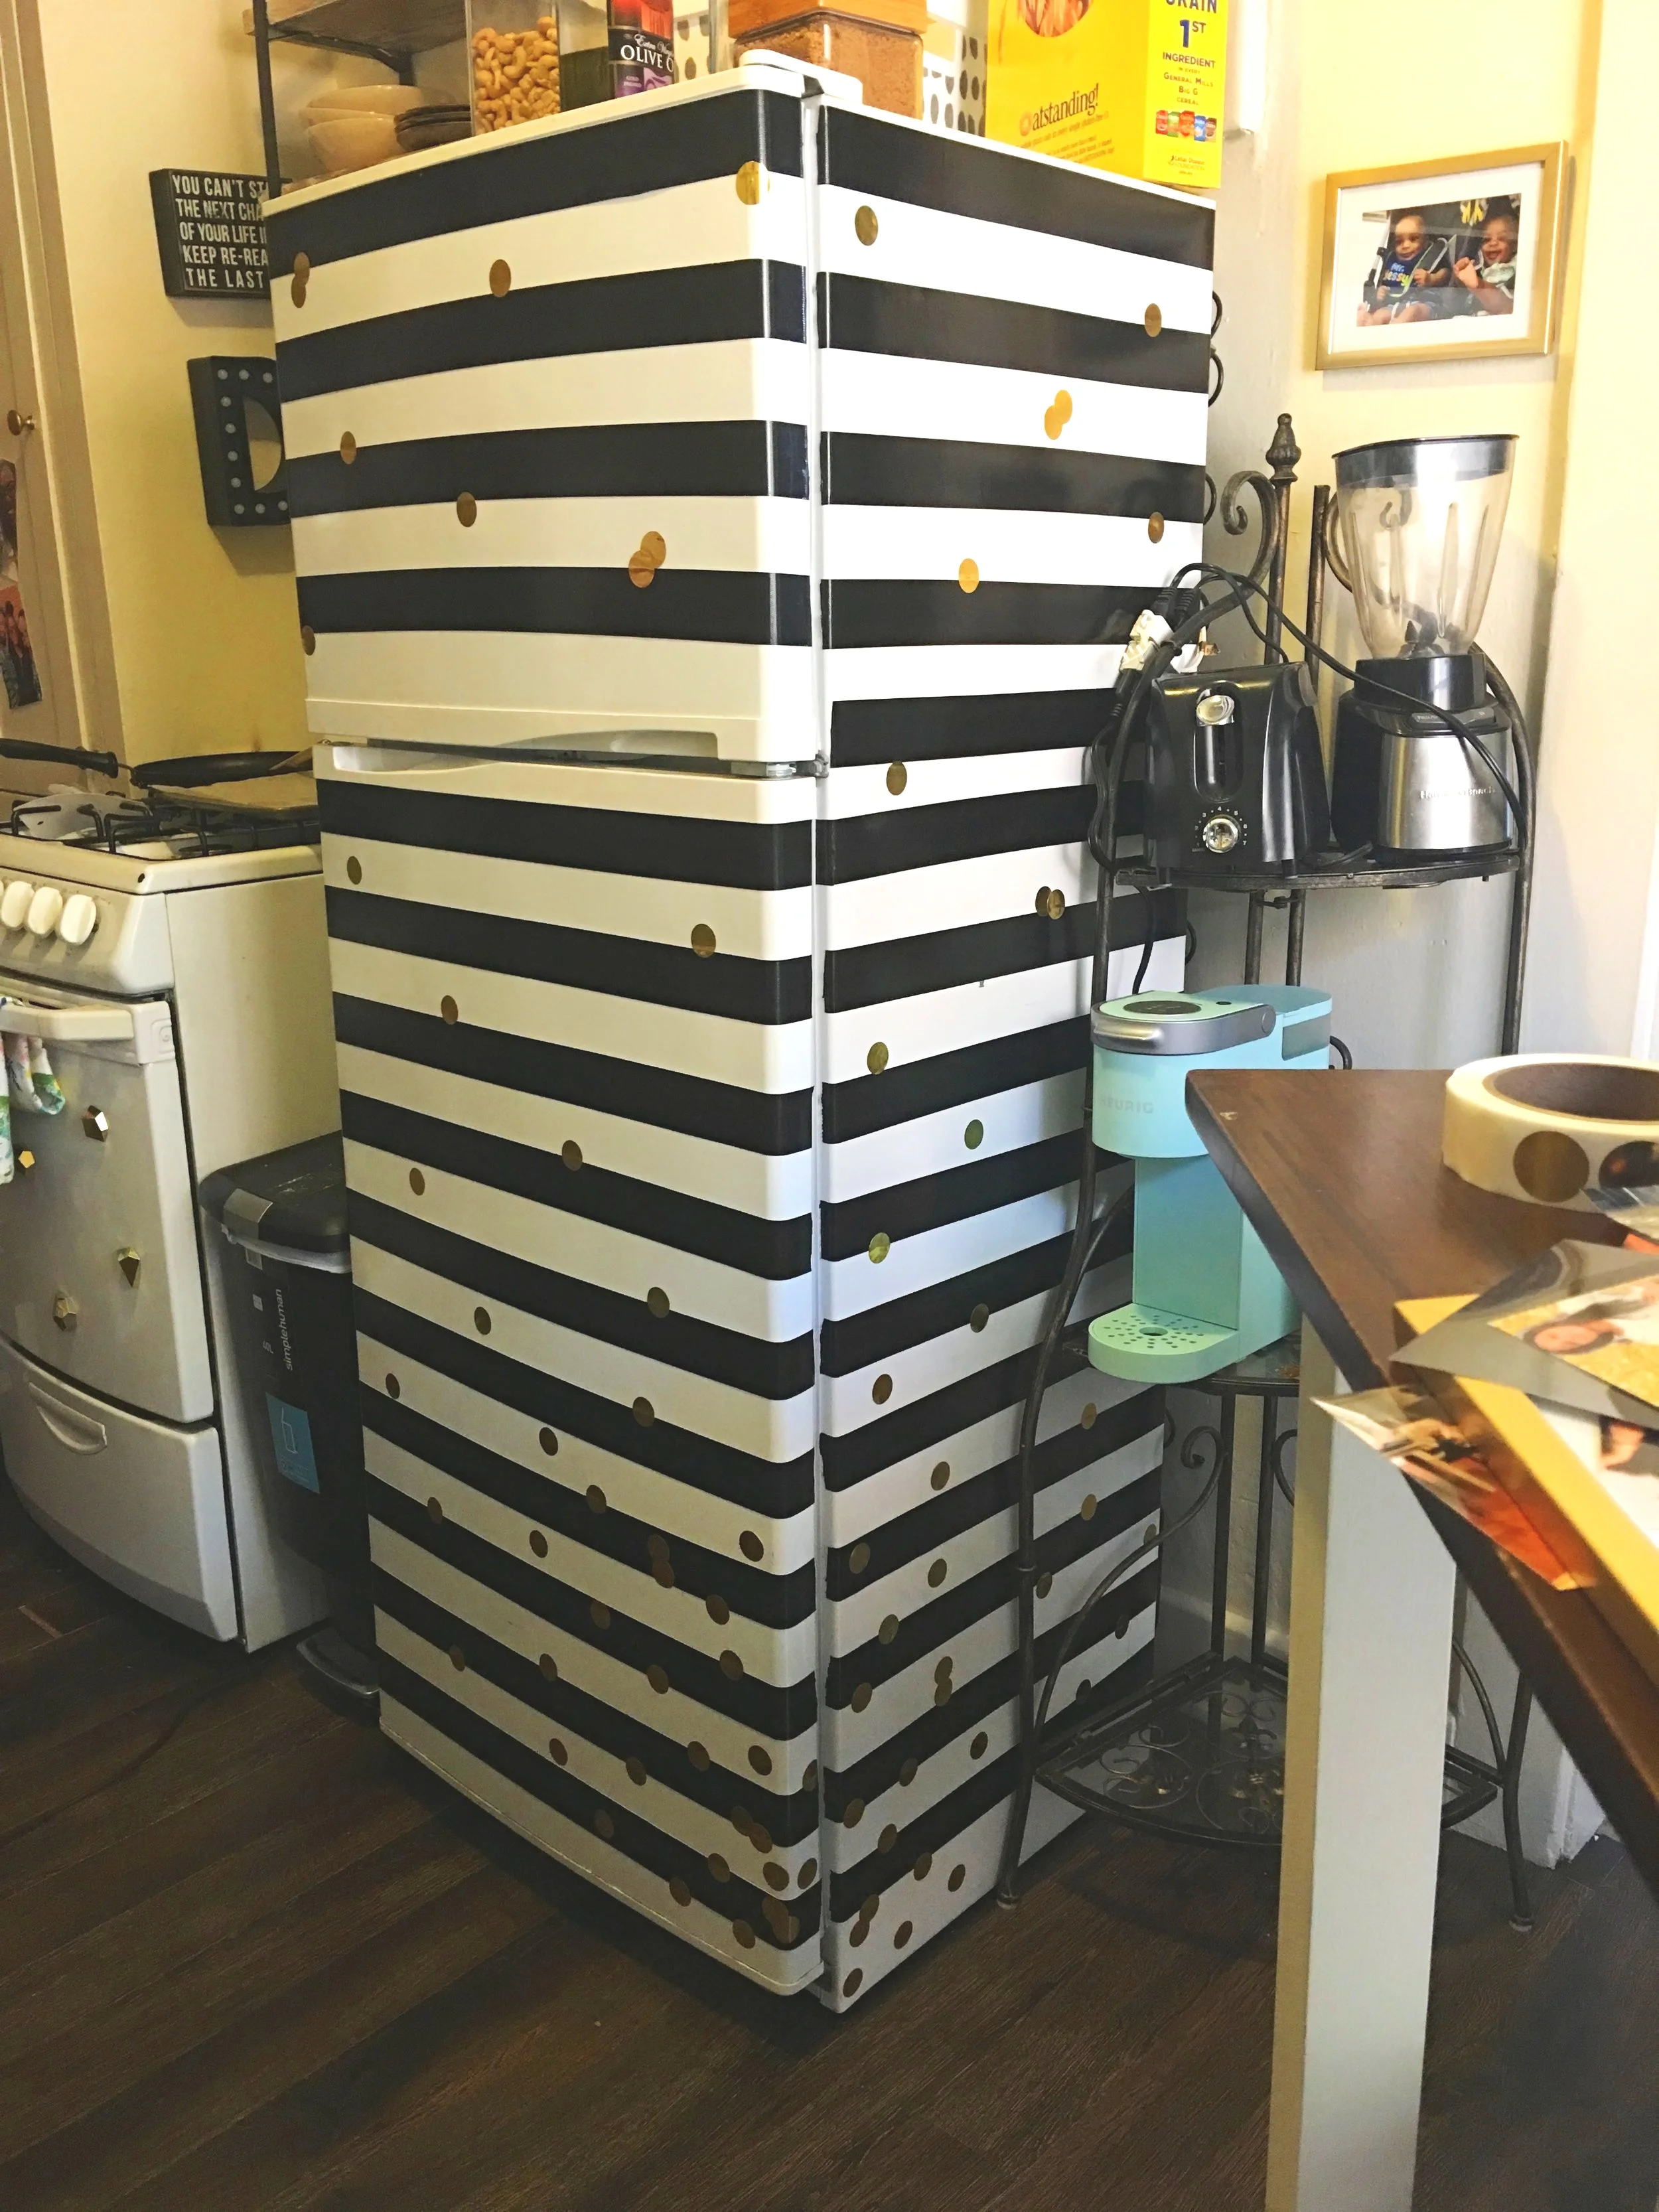
I absolutely LOVE her! The gold dots really gave it that connective tissue I was looking for for the overall design. As well as making it a step above what you'll typically find on Pinterest for this design.
Costs
Duct Tape -- $5 + tax (Got 5 rolls at Dollar Tree)
Gold Dot Stickers -- $0 (costs $6.99 but I used my Amazon Chase card reward points)
Total: $5 + tax
So all in all, a super cheap and relatively easy project to help add some boss queen magic to your kitchen.
WANT TO KEEP UP WITH MY FUTURE RENOVATIONS:
Make sure you’re following me on Instagram (@DayshaVeronica) and Yes Queen on Pinterest to see what’s sparking my design eye.

And check out my Amazon Influencer Store, where I have a tab specifically devoted to highlighting all the products I have used, or products that are similar to what I have used for all my home renovation projects.
Looking for bonus content?
If so, please consider contributing to the Yes Queen Patreon, which will give you access to all kinds of special bonus content, YQ products, and more!
Thanks for reading! I’ll catch you next time, Queens!